Google’s Pixel 7 and 7 Pro both come with a free VPN from Google as an added benefit for its newest Tensor G2-powered devices. This guide will show you how to run it and manage it to keep you safe online.
A VPN works in a deceptively simple way. In effect, when a VPN — virtual private network — is active, your real IP address is hidden from prying eyes. Your signal runs through a secured server that encrypts your data. Through a VPN, your online activity is hidden and secured away, protecting your personal activity and data.
Google has its own VPN service that was, up until recently, only available to Google One members with a 2TB plan or above active. With the release of the Pixel 7 and 7 Pro, Google has extended that VPN availability to users who’ve upgraded to the latest Pixel devices at no extra charge. That benefit will be free for users for as long as 5 years.
Turning on Google’s VPN with your Pixel 7 or 7 Pro
On your Pixel 7, turning on the free VPN is easy. As long as it’s available for you, you’ll be able to turn on the privacy feature in seconds.
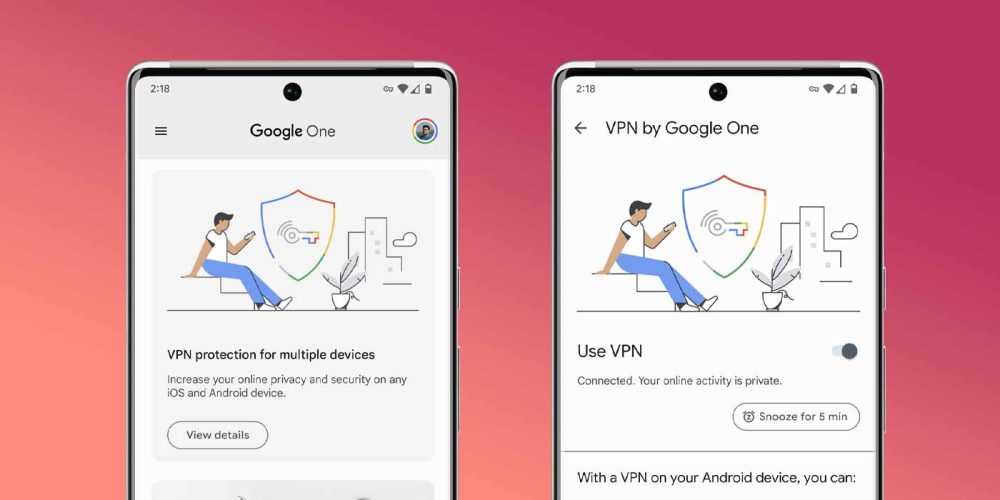
- On your Pixel 7/7 Pro, open the Google One app.
- Tap the Benefits tab at the bottom.
- Scroll down until you see the VPN protection for multiple devices card.
- Tap View details.
- Toggle on Use VPN.

From there, you should see a new persistent notification showing that the VPN is connected. You may notice it disconnects on occasion, but don’t worry – it reconnects automatically. An icon will also appear in the upper corner of your screen at all times next to your network status. This indicates that the VPN is on and working.
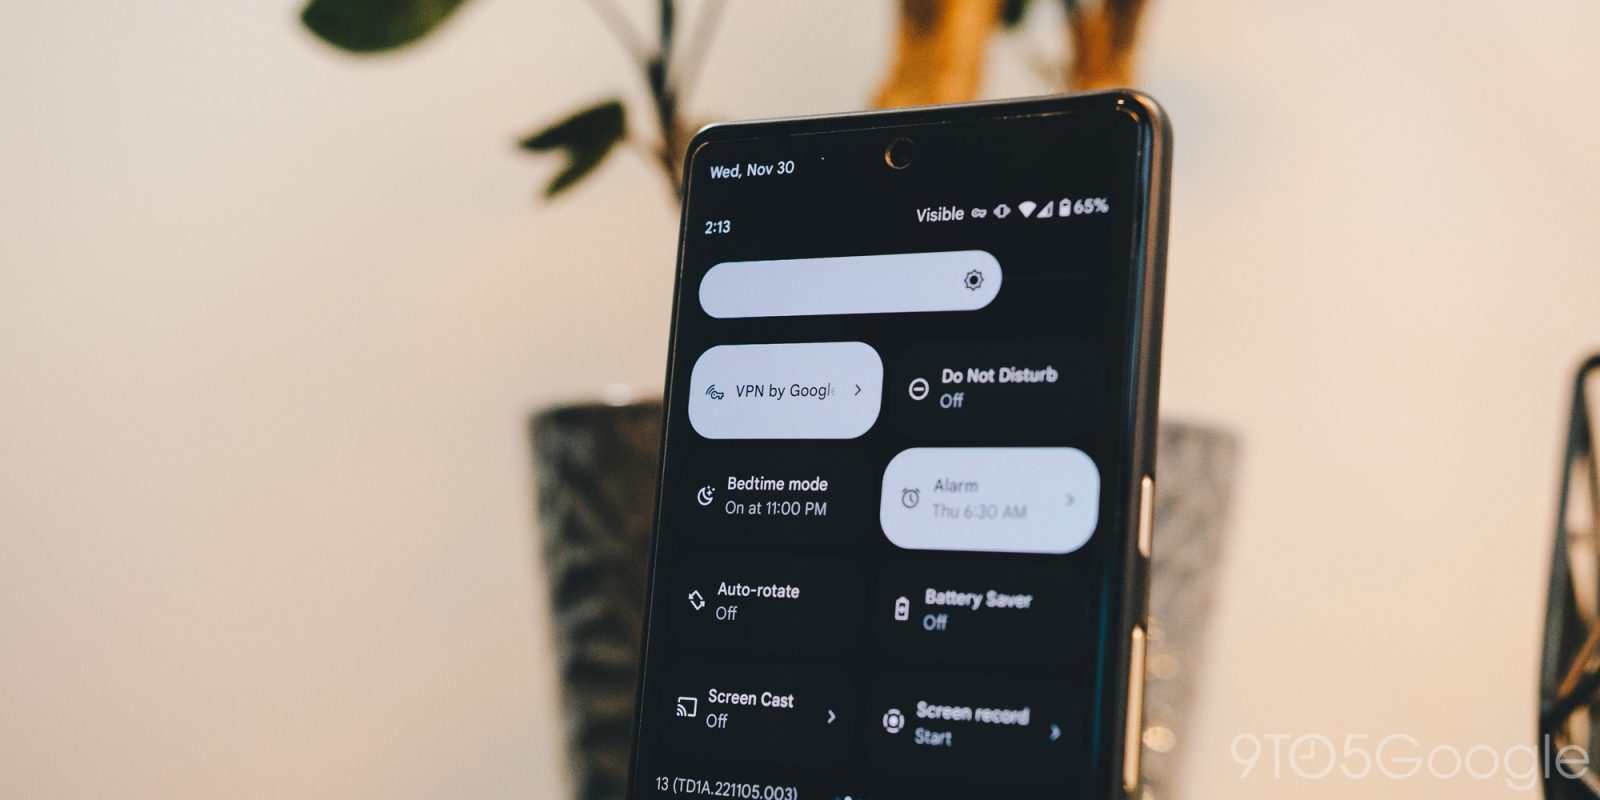
Tip: You can add the VPN by Google One tile to your quick settings for easier access.
Managing your VPN settings
With Google’s VPN, you can create rules for each app, determining whether or not those apps can bypass the VPN. This is handy for apps that might not work if a VPN is active on your Pixel 7. This is very common and while it may be unfortunate, some apps like streaming services just don’t play nice with VPNs.
- On your Pixel 7/7 Pro, open the Google One app.
- Tap the Benefits tab at the bottom.
- Scroll down until you see the VPN protection for multiple devices card.
- Tap View details.
- Hit View settings.
- Tap Allow apps to bypass VPN.
- Choose apps you want to whitelist by hitting the plus icon next to them.
Currently, the settings options are a little shallow with Google’s VPN, though we may see more features in the future.
In all, Google’s VPN for the Pixel 7 and 7 Pro is a useful tool. Considering it comes free for Google’s latest Pixel phones, it’s worth looking into for a little extra security whether you’re home or out and about.
Buy the Pixel 7
More on Pixel:
- Google Pixel 7a renders reveal updated camera bar and other design revisions
- Google Pixel Watch LTE gets first ever discount at $50 off
- Rumor: Google working on Gmail and Calendar apps for Wear OS, Pixel Watch
FTC: We use income earning auto affiliate links. More.

Comments