Hisense didn’t seem to want to choose between pure performance and portability in its new 6,000 ANSI lumens projector. And thus, the Hisense XR10 was born, and it’s simply a beast of a projector.
Design and build
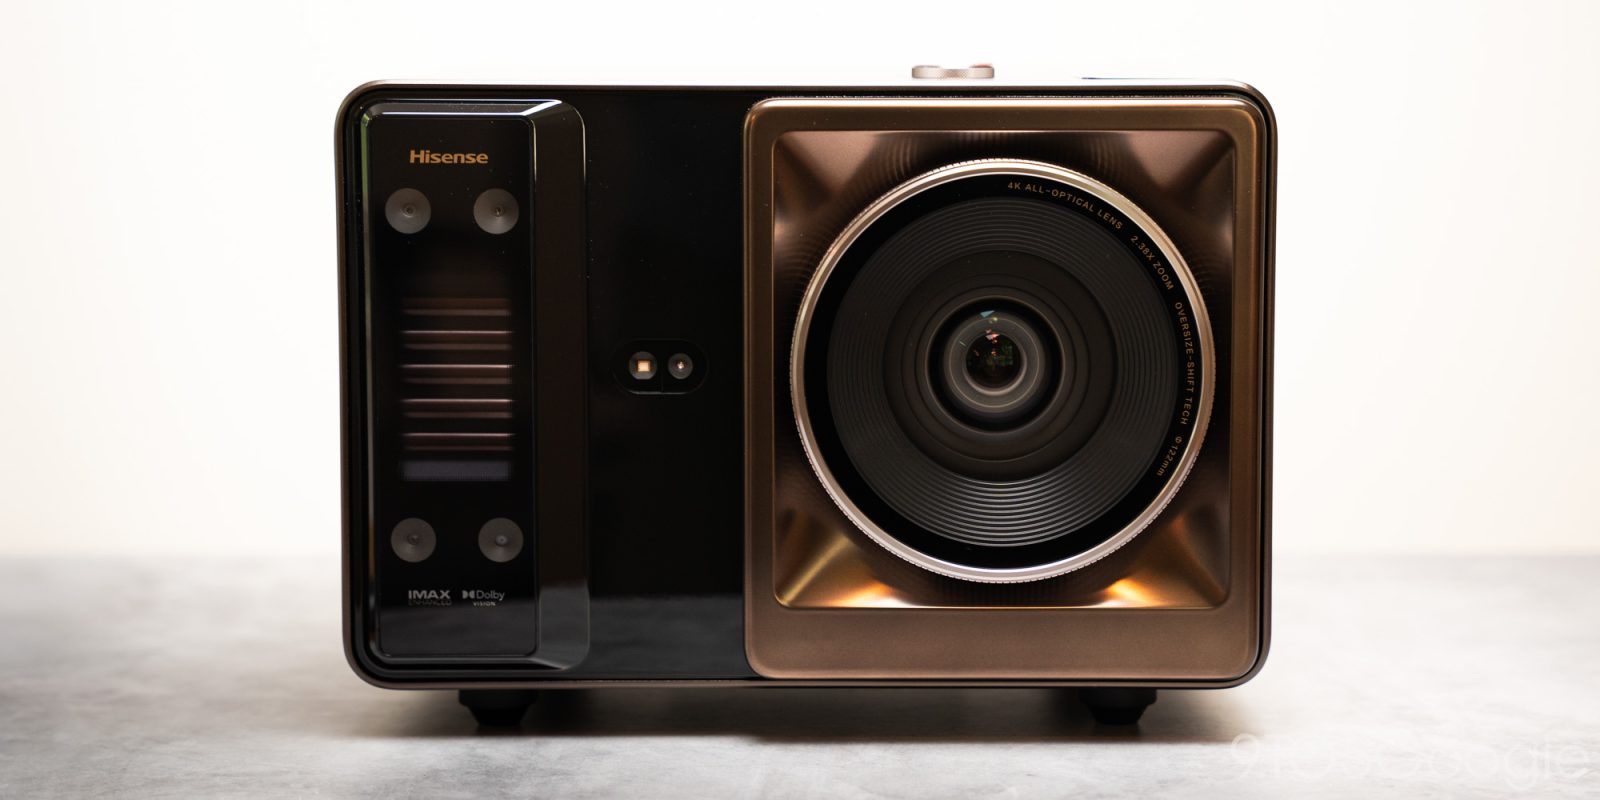
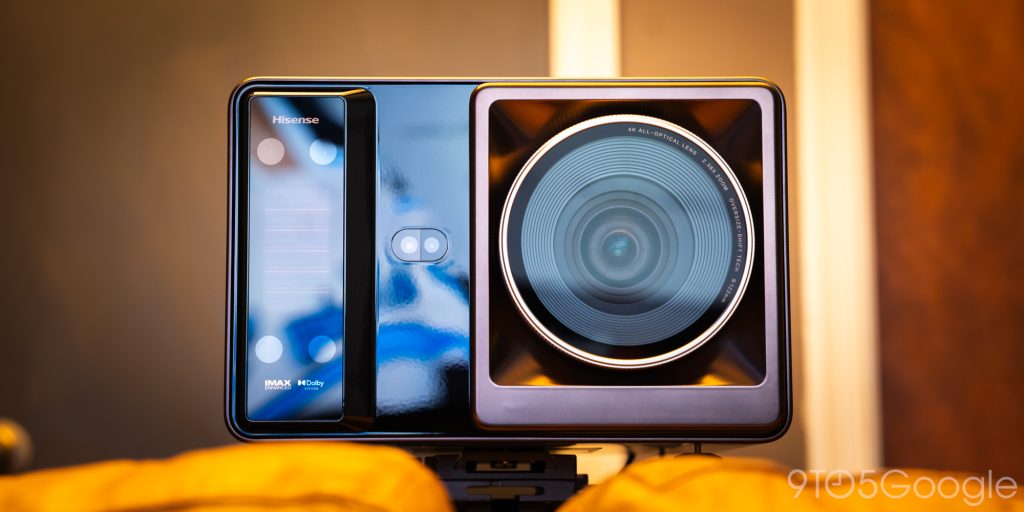
There isn’t much that looks quite like it
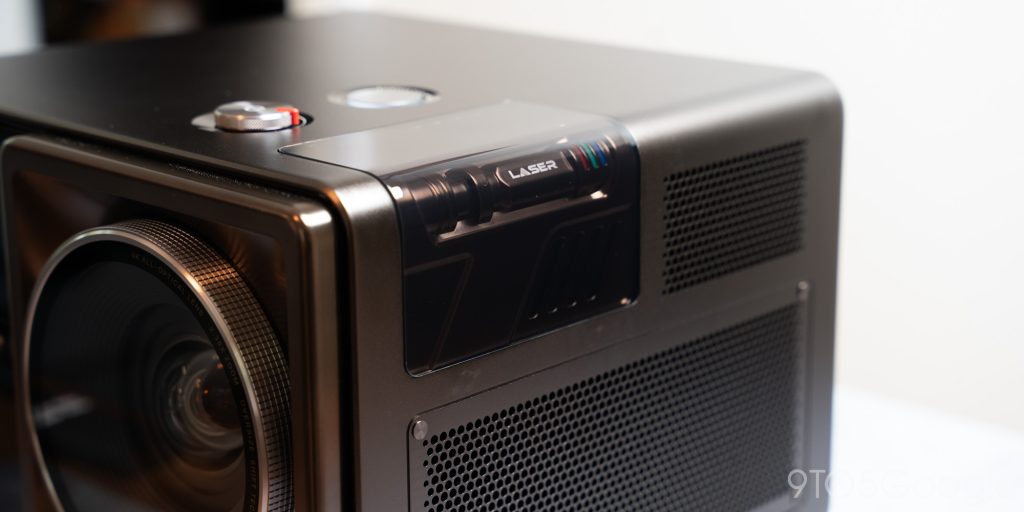
The XR10 from Hisense stands out as one of the best-looking projectors available. There’s a modern technical/lifestyle vibe to it, and all of that is emphasized by the oversized projector lens jutting out of the front.
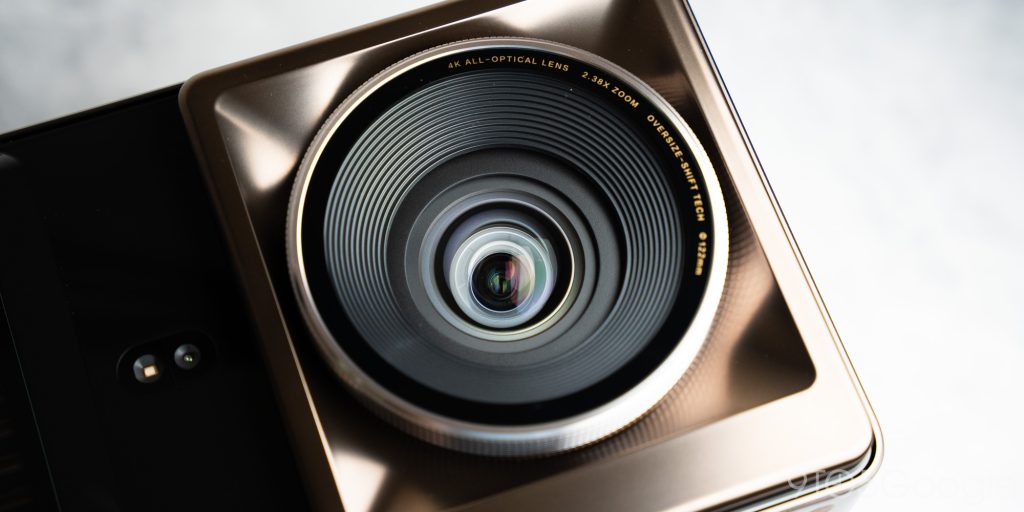
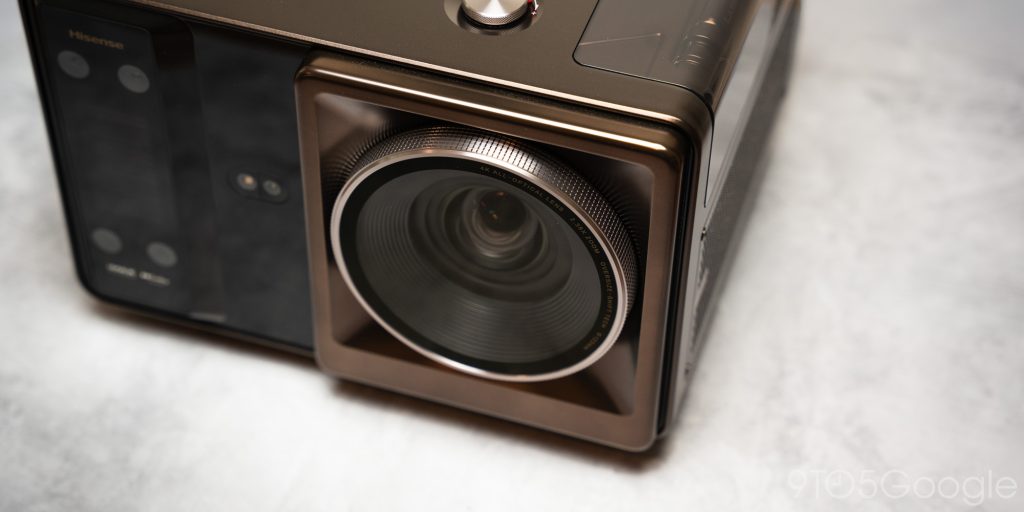
Hisense chose to fit the XR10 with a lens system that packs 17 elements into a high-temp resistant package that just looks gorgeous from a design perspective. Within that lens unit are a few tricks we’ll get into, but it’s worth noting how insanely cool the optics are on this projector.
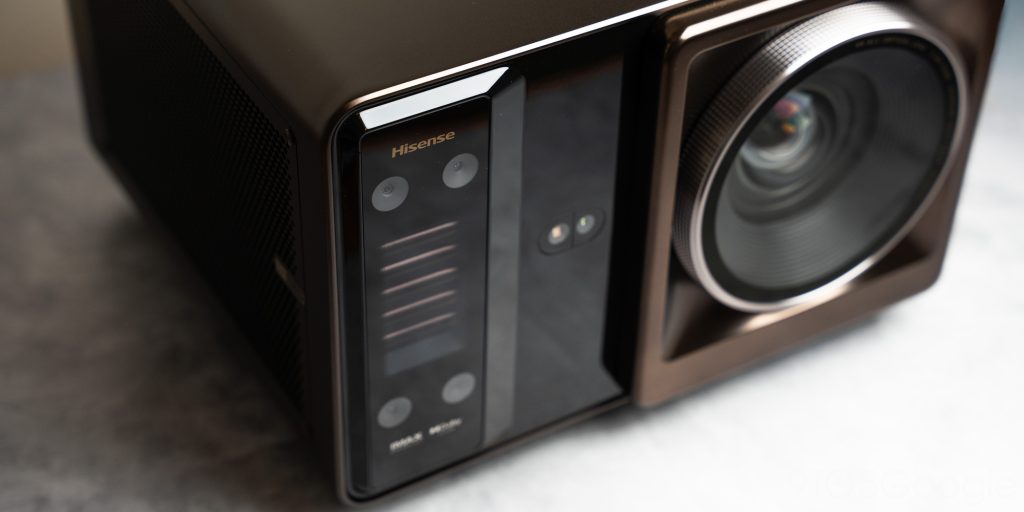
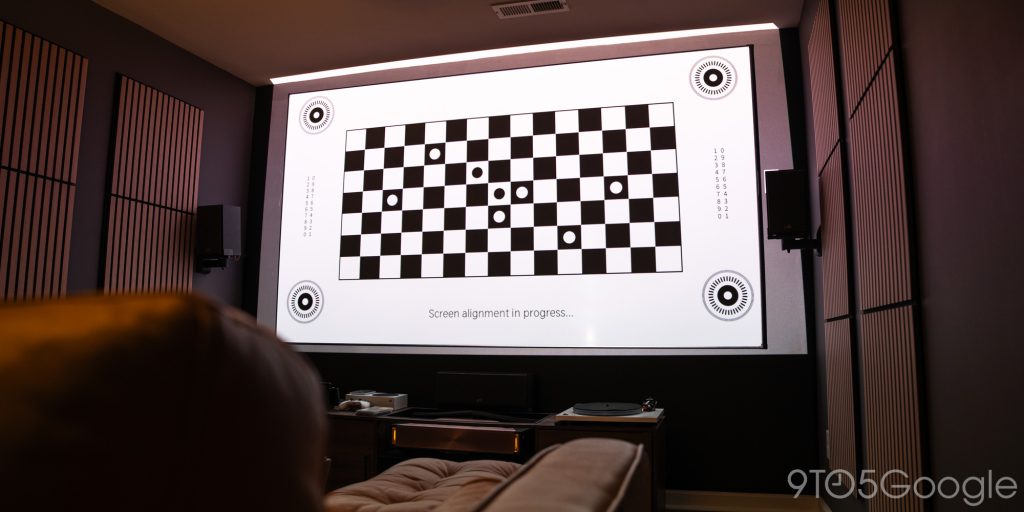
The lens sits on the right side of the cubed chassis. On the left is an array of sensors for calibration, since Hisense wants users to move the XR10 freely without any issues. Those sensors allow for automatic screen, keystone, and focus adjustment.
The top houses what looks like two buttons, but it is just a power/volume knob and a light sensor. The volume dial has a small red indicator, which adds a nice touch to the overall design.

The back of the XR10 is minimal in design but not so much in function. There are three HDMI ports, two USB Type-A, and a couple of audio and internet connections. As far as HDMI ports go, this may even be overkill for those who have plans to move the unit around often.
One of the little touches Hisense put into the XR10 is a design emblem covered in transparent plastic. Underneath is more plastic, but shaped like the internal light engine components. Three little RGB lights brighten when the projector is on. It’s purely for aesthetics, but it’s a cool addition.
All of those little design elements are brought together by the massive machine-drilled plates on each side, and the entirety of the XR10 looks truly unique.
Internal power is simply hidden, not non-existent
The lifestyle look of the XR10 might be enough to fool you, or the centerpiece optical lens might look like a gimmick for the appearance of quality.
I’ve seen enough of both product design methodologies, but the XR10 actually delivers on performance without a doubt.
Inside is a triple color laser engine rated for 25,000 hours, much like the Hisense L9Q we recently reviewed. The engine is rated for Dolby Vision, HDR10+, and HDR10 content with a contrast ratio of 6,000:1. Hisense is able to get such an insane contrast ratio with an added manual light choke, called the IRIS, that restricts light, much like a camera aperture controlling the path of light.
The trade-off here is lower brightness for higher contrast. But the IRIS feature has seven levels to it, so you can fine-tune your experience. If you want the projector at full-blast, expect up to 6,000 ANSI lumens. That’s incredibly bright, and daytime viewing would likely never be an issue. If you want the best picture, obviously turn the lights down and adjust the aperture settings. If you just want to watch something on a massive screen, crank it.
An internal liquid cooling system keeps things within temperature, which is not a common feature in consumer projectors. The system is closed-loop, so it won’t pose the threat of leaks or issues. In comparison to a fan-cooled system, it does a good job without the noise of a jet engine. Sitting right next to it, it’s audible, but nothing TV or movie audio won’t drown out.
The lens has a couple of other tricks, too. The XR10 brings lens shifting into play, so you can find essentially any angle. The range it has is insane. Hisense claims the lens shift feature doesn’t affect picture quality, and I haven’t noticed it has. By force of habit, I still try to physically set the projector up for the best picture with as little adjustment as possible. But even at the most extreme angles, the lens shift is able to push the image several feet in any direction.
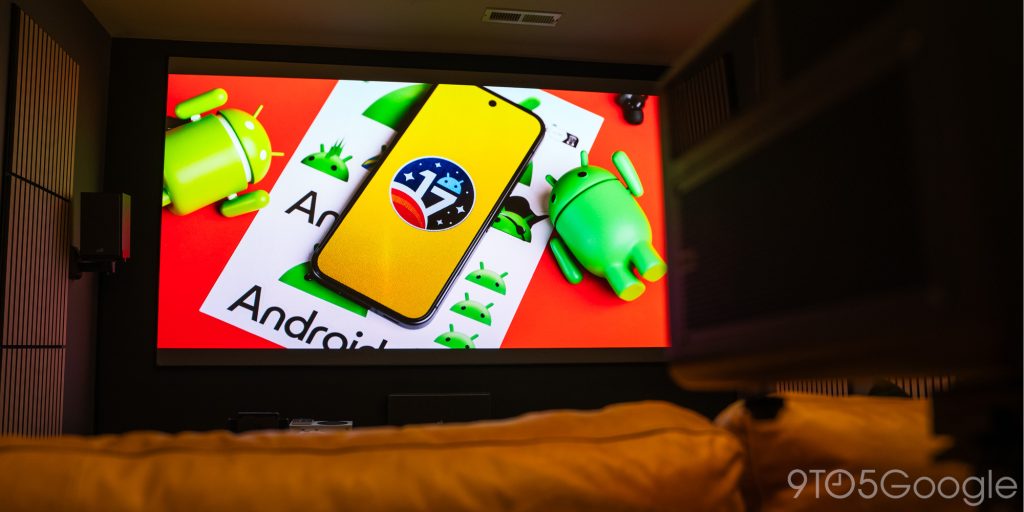
All of that is topped by an image containing 118% of the BT2020 color space and on a screen up to 300 inches. I didn’t test the XR10 on a 300-inch screen because I just don’t have the space for something so large.
I did, however, use a 120-inch ALR screen I tend to test most projectors with. A 300-inch picture makes sense for an outdoor space, but getting a home theater screen that large will cost a decent chunk of change.
Performance
The image of surprise
Using the XR10 actually upset me a little bit. Not because it didn’t perform as expected, but because it did better than I had hoped and gave me conflicting feelings. I love the L9Q from Hisense, and I still use it as a mainstay in my small theater room.
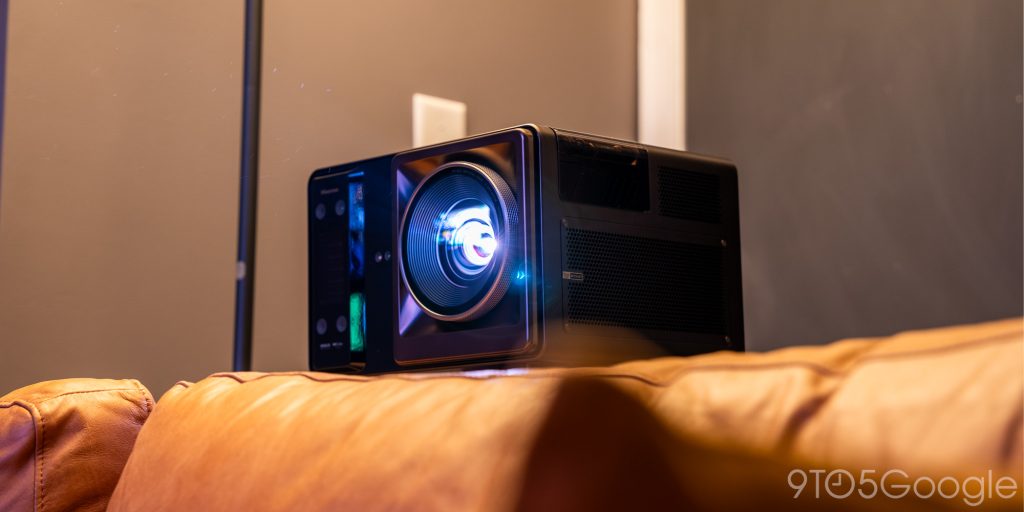
Still, the XR10 brought an image that was very good, if slightly warmer than the image from my short-throw projector. Not a fair comparison, I know. But it goes to show that not only is the L9Q a beast of a UST projector, but the XR10 is its own sort of beast, all while coming in a package you can tote around in a little luggage bag.
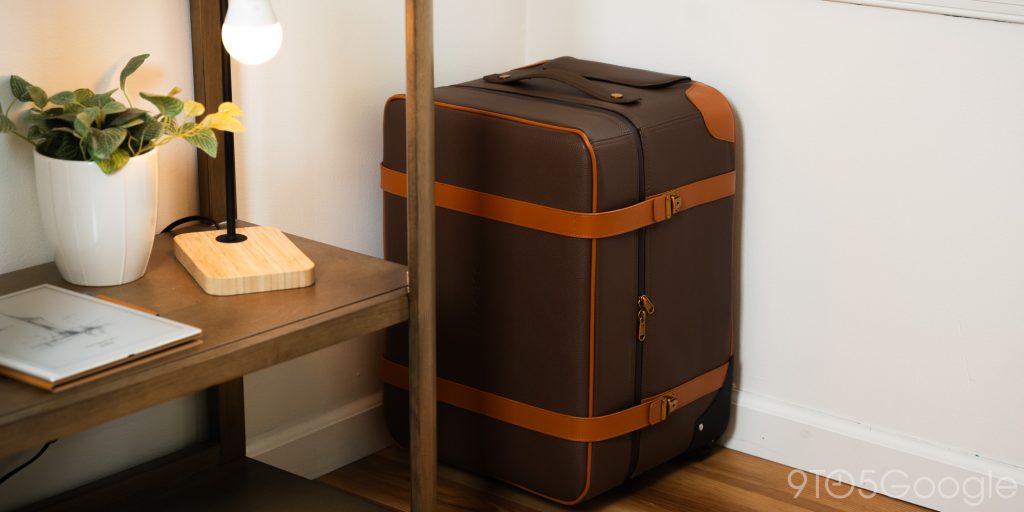
Yeah, it comes with its own suitcase.
First off, setup was a breeze. That’s one area Hisense nailed with the XR10. You can take the projector and set it up essentially anywhere, from a couple of feet to over 12 feet away. If there’s a screen, it’ll pick it out and set up the image for you. At the very least, it performs auto keystone correction and focus adjustment with surprising accuracy on any given wall. I didn’t expect it to dial in my screen so fast, but it locked in quickly with literally no adjustment needed on my end.
I did have a somewhat frustrating time getting it in focus. The focus adjustment works fine on its own, but making my own tweaks was more difficult than it needed to be. During the automatic process, calibration wheels appear across the screen, but they disappear when you take over manually. So, essentially, you can’t manually adjust the focus with any sort of reliability. I ended up back and forth between the home screen and focus adjustment to dial things in.
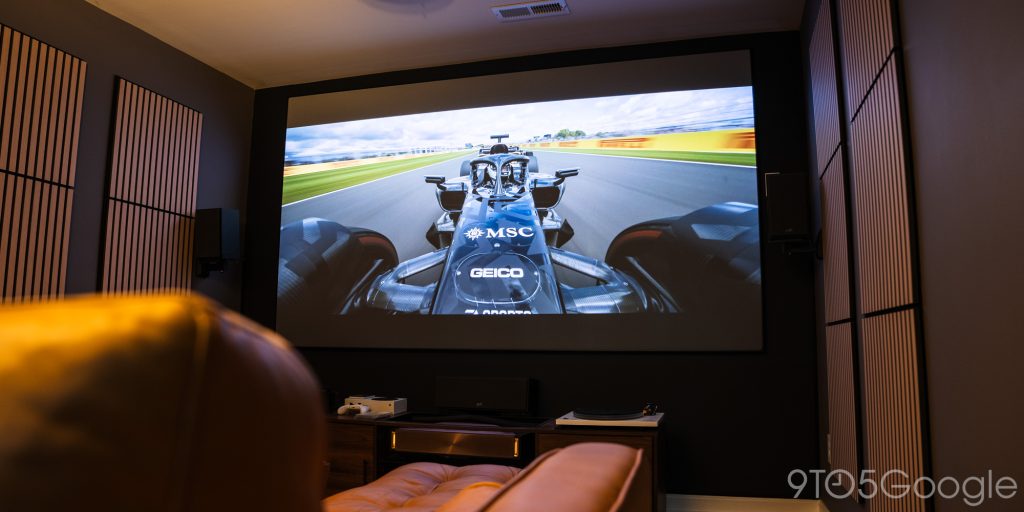
Once it’s dialed on your screen or drive-in movie theater wall, the XR10 picture looks great. It’s 4K with all of the features Hisense likes to pack in. I tend to turn most of those off because I find enhanced sharpness, AI image recognition, and brightness enhancements can muddy the image in a few ways. But to each their own.
I’d still recommend playing with every picture setting; no two people have the exact same preferences.
A dialed image looks fantastic, and the XR10 really shines when you use the IRIS to add more contrast to content than turning Dark Detail on could ever do. It, of course, brings the brightness down. With the IRIS set to base level one, you’re not looking at a 6,000 or even 5,000 ANSI lumen image. In fact, brightness level 7, which is the default when the XR10 is running off its own OS, is just as bright as the L9Q at level 8. In effect, you get one additional step of brightness with the XR10.
In practice, turning the IRIS up significantly reduces the halo around your picture. That means less excess light bleeds through. You can tell because that halo starts to dim. It doesn’t disappear, but it plays much less of a part in blowing out dark scenes.
I found that setting the projector to the brightness that gives me the best color reproduction – somewhere around 8 – and then using the IRIS to control brightness was the best way to get a good, consistent image. In the end, you still can’t get a bright image without washing some contrast, but the XR10 gets much closer to that movie theater image than I expected it to.
But what that means is you need to sacrifice a bright picture for more contrast, because projectors can’t just pull contrast out of thin air. There’s always light, and it needs to go somewhere. That light eats dark colors up.
Still, the XR10 does a phenomenal job of creating a sharp, colorful picture.

In my room, I had to set the XR10 up a little further away and zoom the image in. That’s because the optimal spot for the XR10 to sit and project a 120-inch image is about 10 feet away from the screen – right on my couch. So I moved it behind the couch. You can set it up on a tripod, mount it to the ceiling, or just set it on a table and angle it with its adjustable feet. The only reasonable option for my space was a tripod. It’s not ideal, but it works.
Getting it there might prove to be a bit of an effort, too. The XR10 weighs 23 lbs by itself. The tripod I used was one of the more substantial ones I have, meant for heavier cameras. Then again, you can buy a projector-specific tripod, and as long as you’re ok lugging around a projector the weight of a sack of potatoes, I’d still consider it portable.
It doesn’t have Google TV…
Because I’m also a nitpick, I ran an HDMI cable from my AVR towards the front of the room. That way, I had access to my streaming devices and audio setup. Without it, there are two issues.
The first, while not really a problem, is built-in audio. For what it is, Hisense’s Devialet-powered speakers are very good. I had no issues with them, and there were plenty of options to dial them in. However, any image the XR10 can put out in a dedicated space deserves dedicated audio.
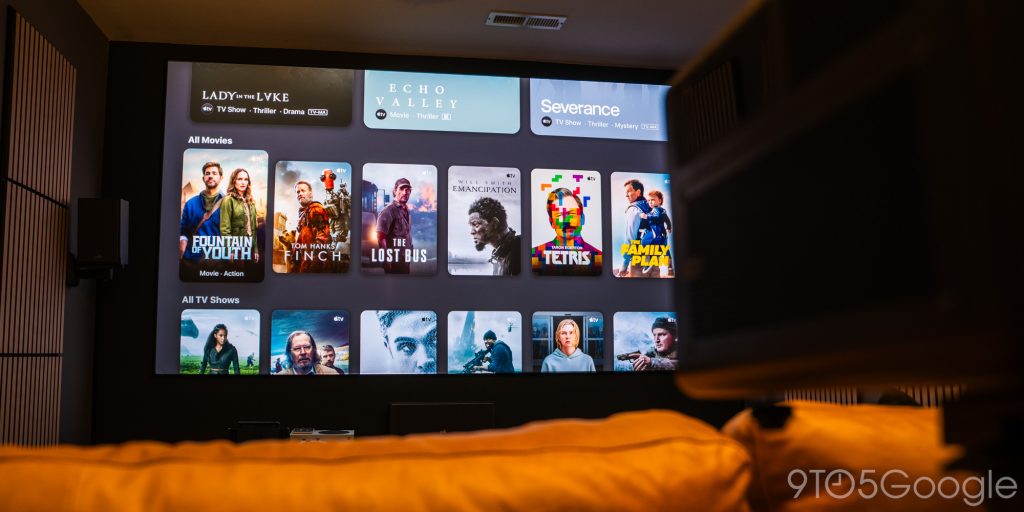
Second, the XR10 doesn’t actually run Google TV like most other projectors from the company. Hisense went with VidaaOS, which is very similar to Google TV but a little busier for my taste. It also came with a lot of apps installed already, many of which I will never use. The mainstays are Netflix, YouTube, YouTube TV, Peacock, and a handful of others. But that’s only about 5% of what VidaaOS has preloaded.
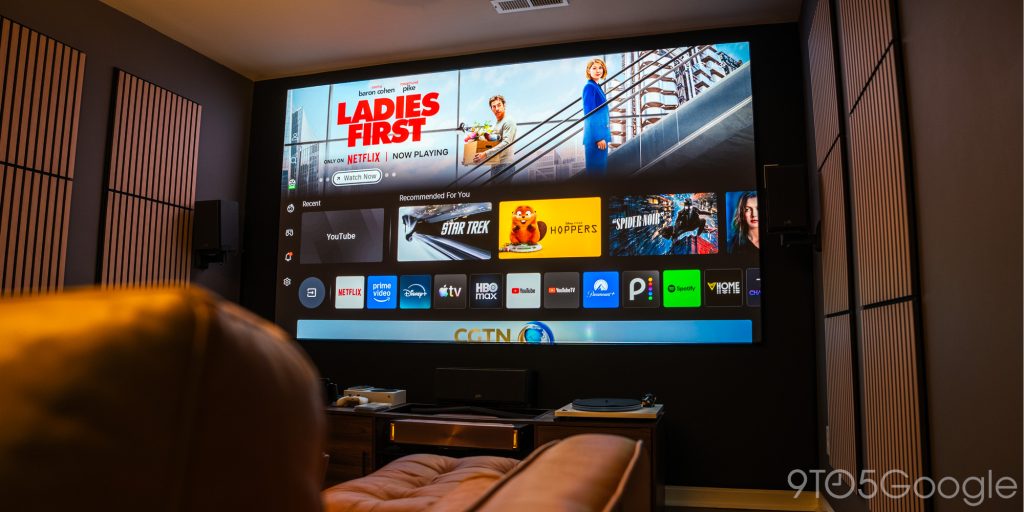
It works well, and it’s pretty intuitive, but a creature of habit like me prefers to hook up Google TV or something a little less overstimulating.
Final thoughts
The XR10 sits in a weird spot because it offers this insane package of both quality and portability, but those types of buyers seem like they’re from different groups.
Still, Hisense put a lot of tech into the XR10 so it can be used either way. I’d be more than happy mounting it to the ceiling and committing time to run audio and video. At the same time, it’s meant to be picked up and set up in a different part of the house, or outside for a movie night. Where portable projectors would require some performance sacrifice for that experience, the only downside to the XR10 is that you need a nearby outlet to do it.
Also, it doesn’t come cheap. The XR10 brings an asking price of $6,000, though it can be had for as low as $5,500. There’s a lot that plays into that price, like the massive lens array, liquid cooling, and internal IRIS construction.
If portability speaks to you, the XR10 might genuinely be the best projector you can get that lets you pick it up and move it without an issue. From testing it and using it for a while, I really can’t see a downside when it comes to pure performance. Of course, if you want something that you can leave in place for similar image performance from Hisense, the L9Q has been a great ultra-short-throw option. It really comes down to form factor.
Buy the Hisense XR10:
FTC: We use income earning auto affiliate links. More.


Comments