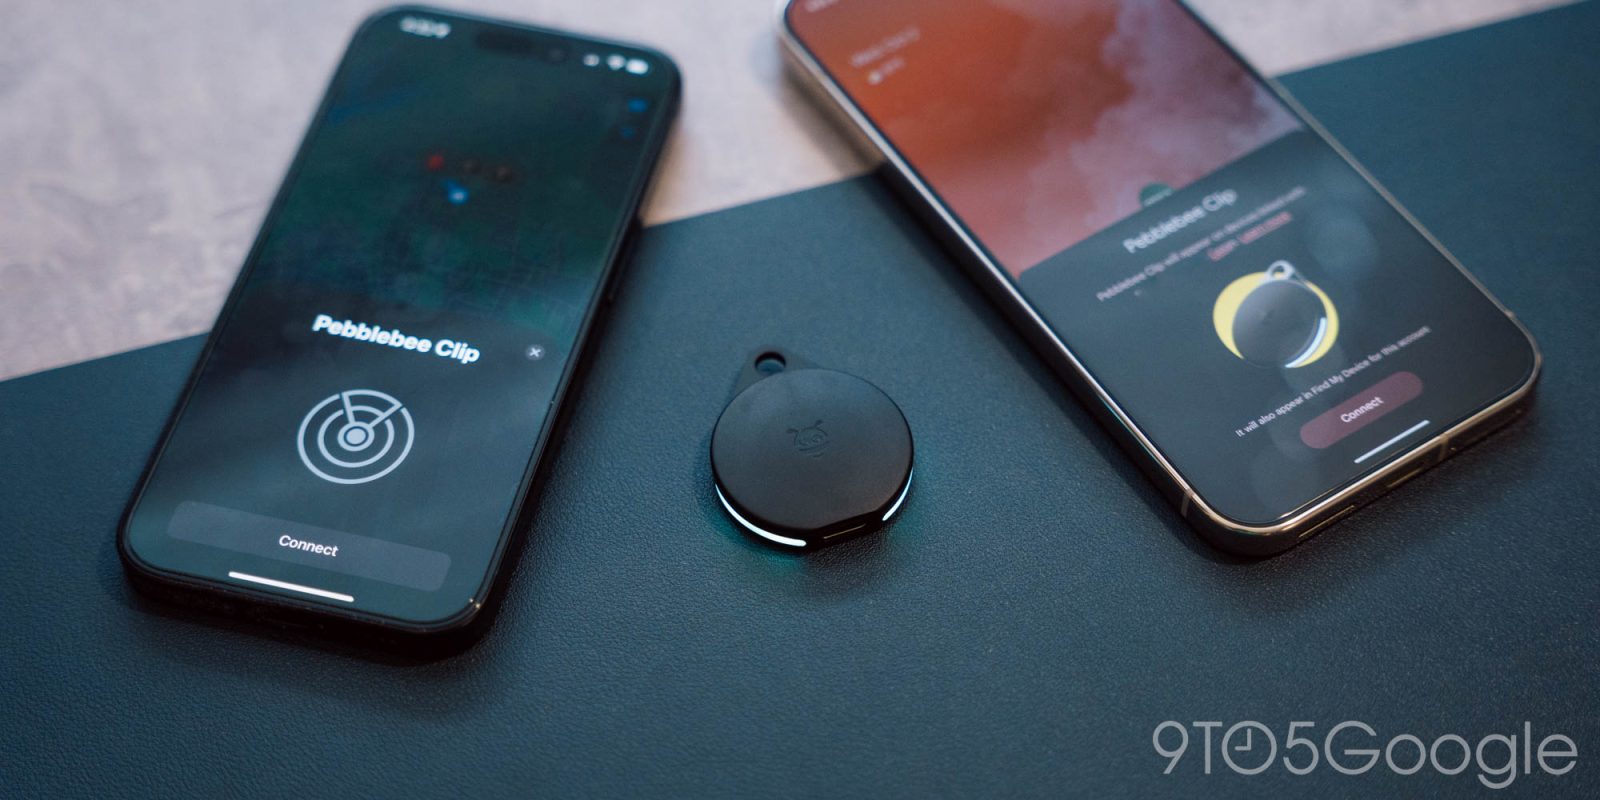
Pebblebee just introduced the first item trackers that support both Android and iPhone finder networks, but how do they work? Here’s how to set them up and, more importantly, how to switch between the two platforms.
From a hardware perspective, Pebblebee’s new “Universal” lineup is identical to the Android-specific trackers we reviewed earlier this year (which have now been replaced by this new lineup). There’s the credit card-sized “Card,” the thin and versatile “Tag,” and the USB-C rechargeable “Clip.” All three cost $35.
The trick this time around is that the trackers can be used by either the Android Find My Device network or Apple’s Find My network. They don’t work at the same time, unfortunately, but you can switch back and forth.
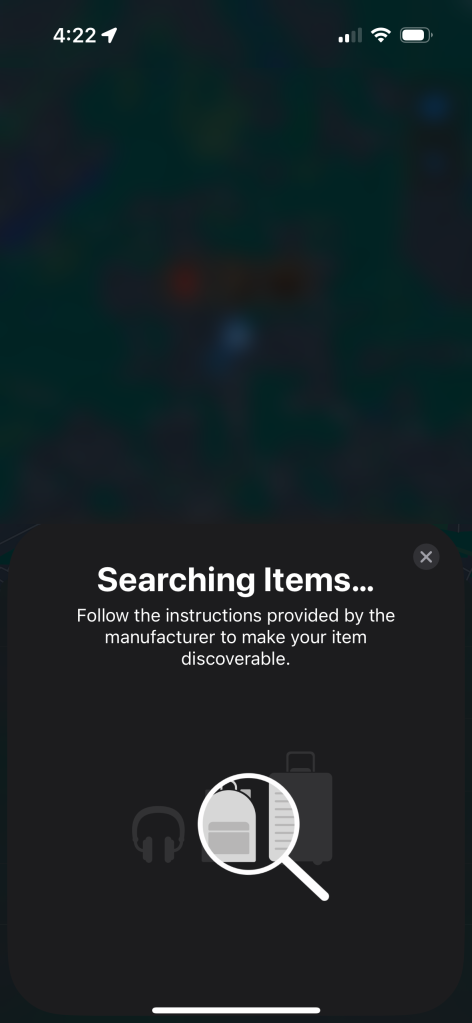
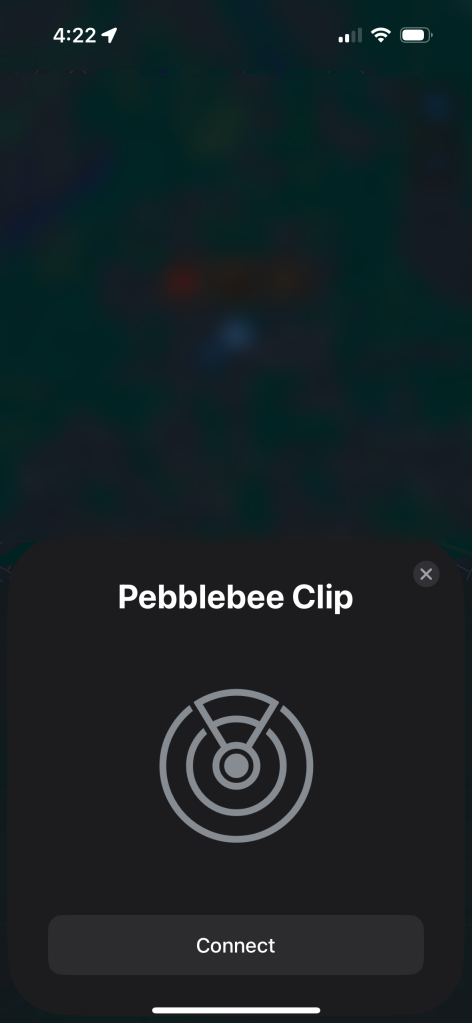
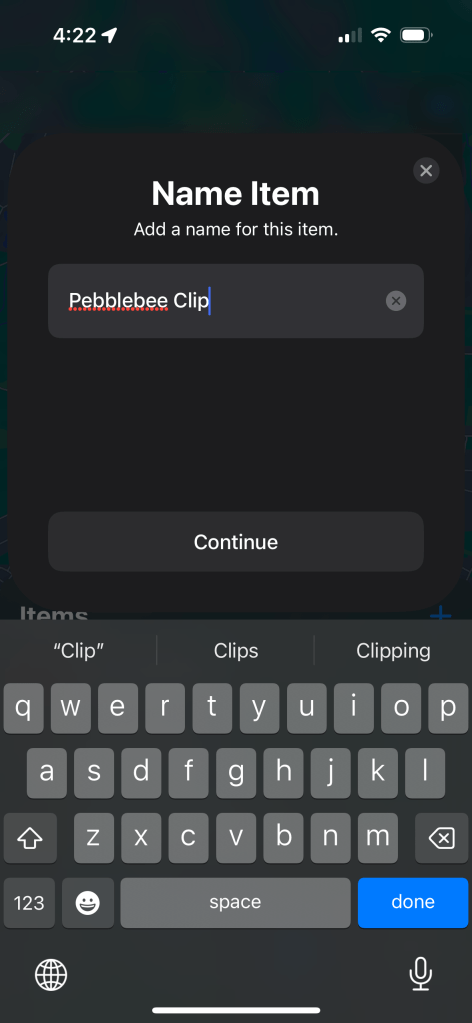
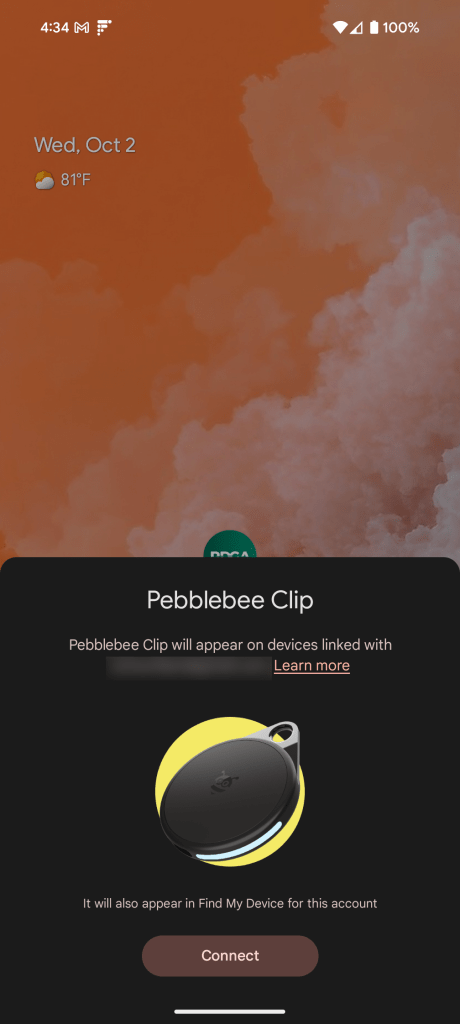
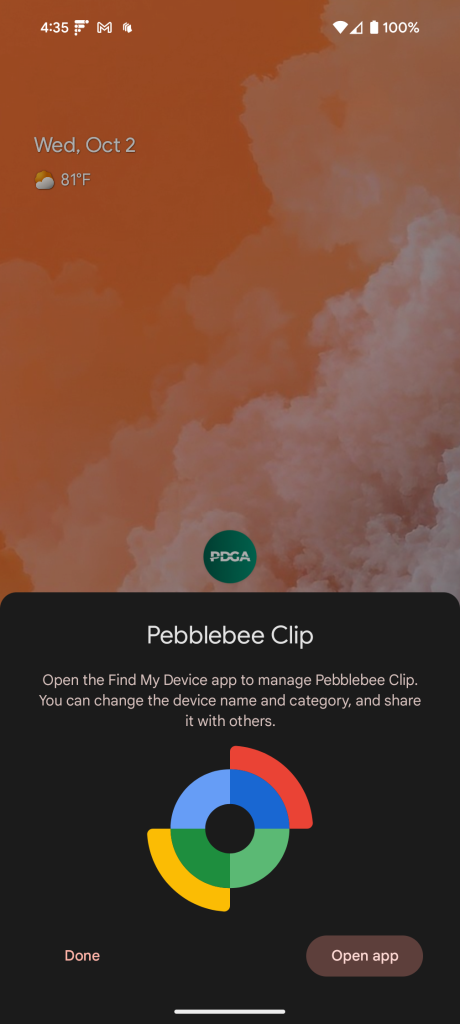
For initial setup, the tracker of your choice will show up on both Android and iPhone. For Android, that uses the Fast Pair UI which appears when the tracker is in pairing mode and near your phone. For iOS, you’ll need to go to the Find My app, add an item, and select “Add Other Item.” Pairing mode on these Pebblebee trackers can be triggered with a double-press of the logo.
As soon as you link the device to one network, it will stay with that one and no longer appear for the other, or be available to function with it. You can not use the tracker with both networks at the same time in any capacity.
What you can do, though, is switch to the other network at any time.
This might be useful if you switch phones, or live in a household with a mix of Android and iPhone users. Anyone would be able to use any tracker with relative easy, potentially saving a whole lot of money compared to buying a bunch of trackers that only work with a single network.
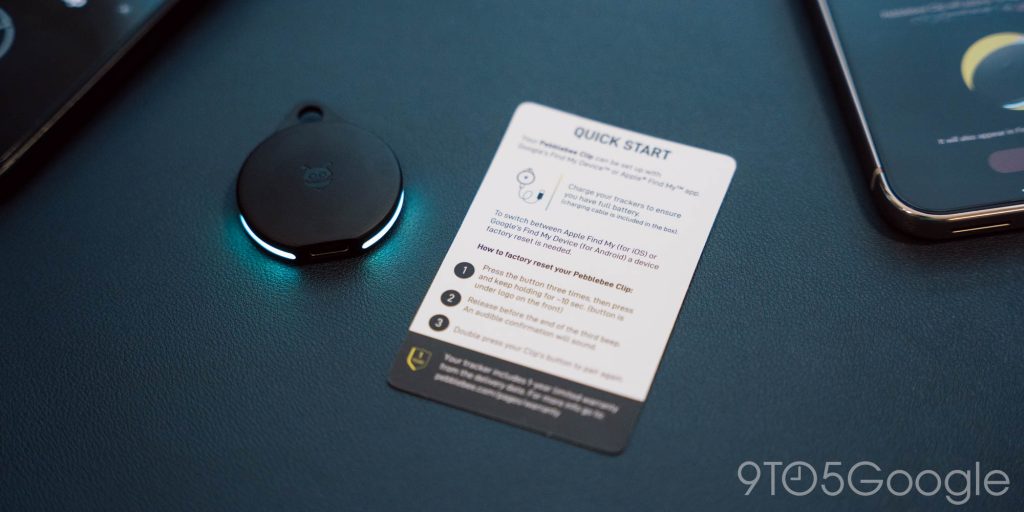
The process of switching networks just requires resetting the tracker. This is done by pressing the button (under the logo) on each tracker three times, then long-pressing after that third press. After about 10 seconds you’ll hear the device beep, and will need to stop pressing before the end of the third (extended) beep. From there, the tracker will reset and you’ll hear a couple more beeps as a confirmation. This won’t remove the tracker from your account immediately, though, so you’ll want to check the Find My Device or Find My apps to ensure it’s been removed.
From there, just repeat the initial pairing process. Double-tap the button and pair with the network of your choosing.
It’s a shame, of course, that you can’t use these trackers with both networks at the same time, but it’s still nice to have the flexibility of using them with either network.
Pebblebee is shipping its Universal trackers now for $34.99 each.
More on Find My Device:
- Find My Device stress test: How good is Google’s tracking network? [Video]
- Moto Tag is the first Find My Device tracker that needs its own Android app
- These new trackers for Android’s Find My Device network might have the most clever hardware yet
Follow Ben: Twitter/X, Threads, Bluesky, and Instagram
FTC: We use income earning auto affiliate links. More.

Comments