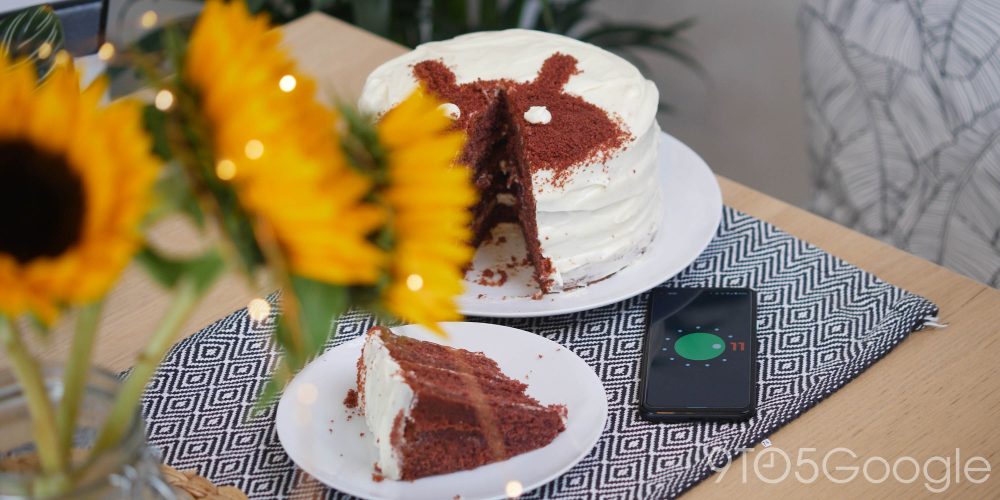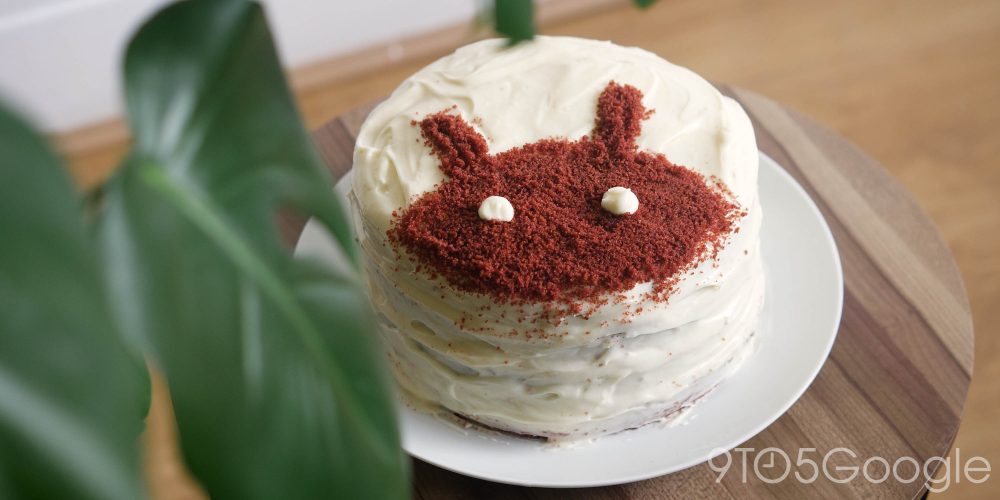
Well, personally, I never anticipated that I would be making a cake based upon a recipe that Google shared during the launch of Android 11, but here we are.
For those slightly out of the loop, during the launch of Android 11, Google left a little Easter Egg of sorts on their not-so-traditional Android statue. It contained a Red Velvet Cake recipe which was, of course, the internal codename for Android 11.
We wouldn’t be “9to5GOOGLE” if we didn’t give it a whirl. We actually saw this as a personal challenge. So, sleeves rolled up and with the help of someone with far more culinary experience, yours truly set about making the “official” Android 11 Red Velvet Cake. After some sleuthing, we actually found that the exact recipe used by Google for their cake was from the wonderful Sally’s Baking Addiction.
You can find her full recipe and method above, which we have briefly summarized for you below if you want to make your own “Android 11 cake.”
Recipe
Cake
3 cups cake flour
1 teaspoon baking soda
2 tablespoons unsweetened natural cocoa powder
1/2 teaspoon salt
1/2 cup softened unsalted butter
2 cups granulated sugar
1 cup canola oil (rapeseed oil in UK)
4 large eggs
1 tablespoon pure vanilla extract
1 teaspoon distilled white vinegar
red food coloring
1 cup buttermilk
Frosting
16 ounces softened cream cheese
1/2 cup softened unsalted butter
4 and 1/2 cups confectioners sugar (powdered)
12 tablespoon heavy cream
1 and 1/2 teaspoons pure vanilla extract
pinch of salt
How to make the Android 11 Red Velvet Cake
Prep
- Start by preheating your oven to 350°F or 177°C.
- Grease two 9-inch cake pans, and line with baking paper or parchment paper so that you don’t ruin the cake trying to remove it from the pans.
- 9to5Google Tip: Crunch the parchment paper to help make it fit if you have cut an exact sized sheet
How to make the Cake

- Whisk the flour, baking soda, cocoa powder, and salt together in a large bowl. Set this aside as we’ll need it later on.
- Get yourself a handheld or stand mixer fitted with a paddle attachment, then beat the soft butter and sugar together at a medium-to-high speed until fully combined, this should take around 1 minute. Scrape down the sides and up the bottom of the bowl with a rubber spatula as needed.
- Add the oil, egg yolks, vanilla extract, and vinegar and beat on high for 2 minutes. Keep the egg whites separate as we’ll need them in a moment. Scrape down the sides and up the bottom of the bowl with a rubber spatula again as needed.
- With your mixer on a low-speed setting, add all of the dry ingredients in 2-3 small portions in alternate amounts with the buttermilk. Beat in your desired amount of food coloring just until combined. We used 1-2 teaspoons of gel food coloring.
- In a separate bowl, vigorously whisk the 4 egg whites on high speed until fluffy peaks form, this should take around 3 minutes.
- Now gently fold into the cake batter. A tip is to “sacrifice” the first small spoonful of whisked egg-white to bind the mixture. Keep folding until the batter is silky and just slightly thick.
- Divide the batter mixture between cake pans and bake for 30-35 minutes. The tops of the cakes should spring back when gently touched and a toothpick inserted in the center should come out clean when cooked. Just give the cakes a little longer if you see wet crumbs on the toothpick. However, be careful not to overbake as they may dry out.
- Remove cakes from the oven and cool completely in the pans set on a wire rack.
- IMPORTANT: The cakes must be completely cool before frosting and assembling.
How to make the frosting
- In a large bowl using a handheld or stand mixer fitted with a whisk or paddle attachment, beat the cream cheese and butter together at medium-high speed until the mixture is smooth and lump-free. This should take around 2 minutes.
- Slowly add the confectioners’ sugar, vanilla extract, and a pinch of salt. Beat the mixture on a low speed for around 30 seconds, before increasing to high speed for a further 3 minutes until the mixture is fully combined and creamy.
- If the frosting is runny, add more confectioners’ sugar and an extra pinch of salt if it’s too sweet. The frosting should be soft, supple, but not runny or watery.
Assembling and frosting
- Grab a large serrated knife or bread knife and slice a very thin layer off the tops of the cakes to create a flat surface. Keep this as you can use it to crumble over your finished cake.
- Place 1 cake layer on your cake stand or a separate serving plate. If you want multiple layers cut in half again for a 4 layer Red Velvet Cake.
- 9to5Google Tip: Put a tiny dash of frosting on the plate and spread before laying the cake on to keep the cake stable on the plate
- Evenly cover each layer top with frosting. Top and frost each layer until you have topped all cake layers then spread then remaining frosting all over the top and sides.
- Crumble over the thinly sliced top layer for added flair.
- Now you’ll need to refrigerate the cake for at least 30-60 minutes before attempting to slice. This helps the cake hold its shape when cutting and ensures the frosting is firm.
- Enjoy!
How does it taste?

Without delving into a full review of this little Android 11 Easter Egg, it tastes great! If you hate sweet treats then the Android 11 Red Velvet Cake recipe might not be for you though, as you’ll be using a LOT of sugar as well as cream cheese. If you’re on a diet, stick to the regular Android 11 on your Pixel and pick up a healthy low-calorie snack instead.
FTC: We use income earning auto affiliate links. More.


Comments