
While modern-day smartphones are fantastic for keeping large files in the cloud, you will inevitably find yourself downloading at least some locally onto your device. Over time, that download folder can get larger and larger until your Android device almost can’t take anymore. This guide will take you through the “Files” app and help you empty some of that trash on your Pixel.
Emptying trash files manually on Android
Just like on a PC or Mac, downloading files will usually end up in a folder somewhere in your local storage. With the Files app preloaded on the Pixel, you can easily see where things are being stored and how big those files are, so you know exactly what to get rid of. If you know that downloaded files are cluttering things up and you know exactly what trash files on your Android device to permanently delete and empty, then deleting files manually is a great option. Here’s how:
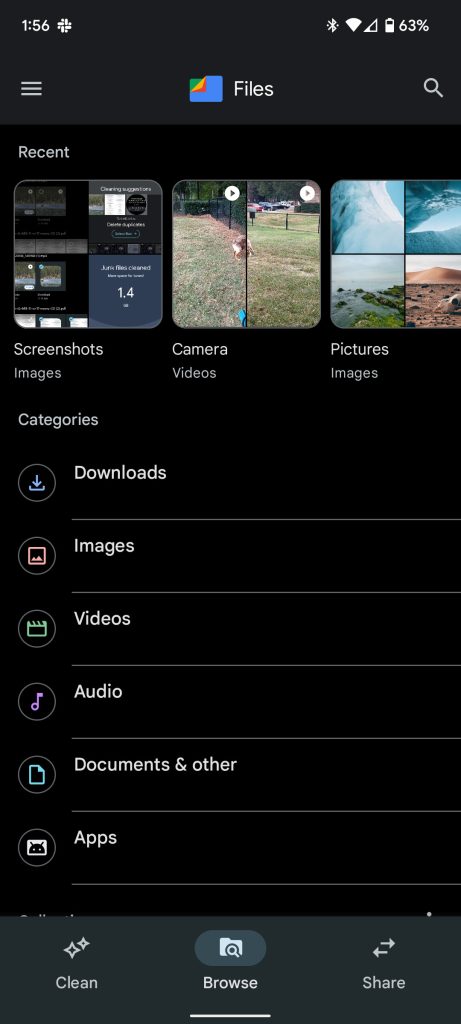
- On your Pixel, head to the Files app.
- Once you open it, tap the Browse tab at the bottom center.
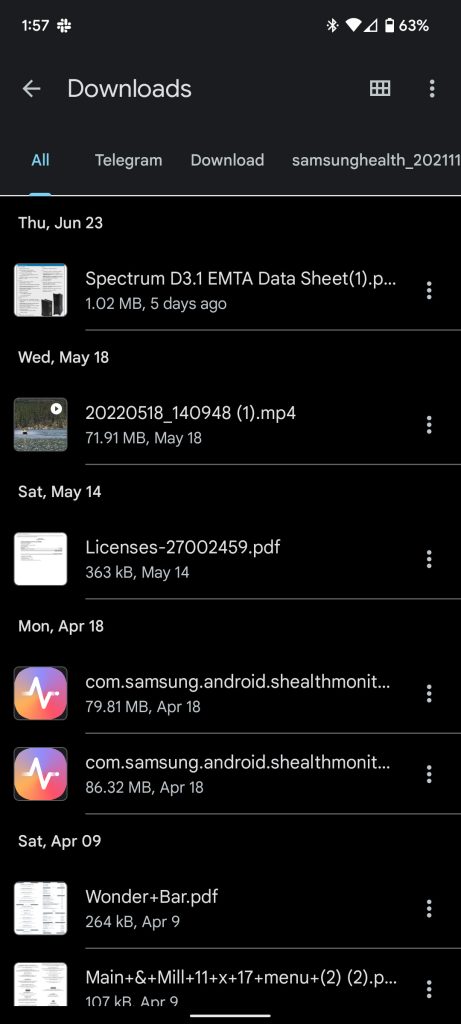
- From there, you can head into your Downloads, Images, Audio, and so on. For this example, we’ll go into Downloads.
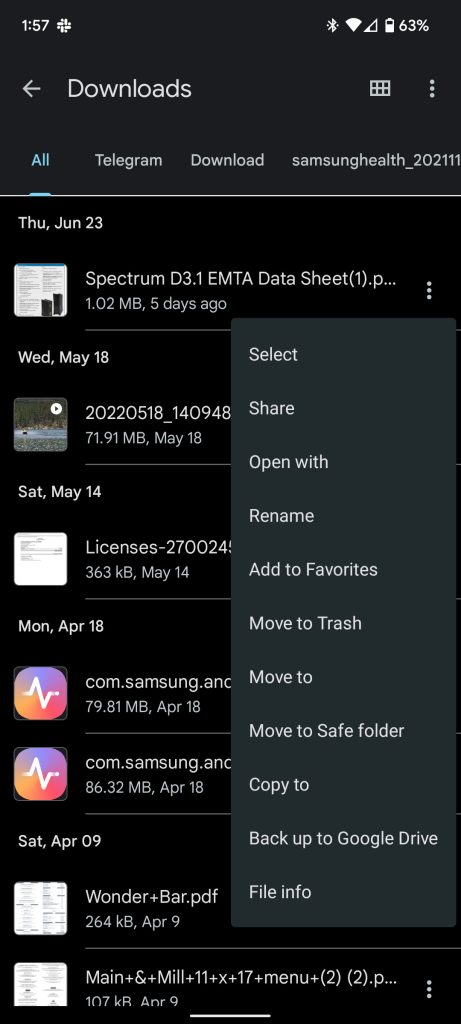
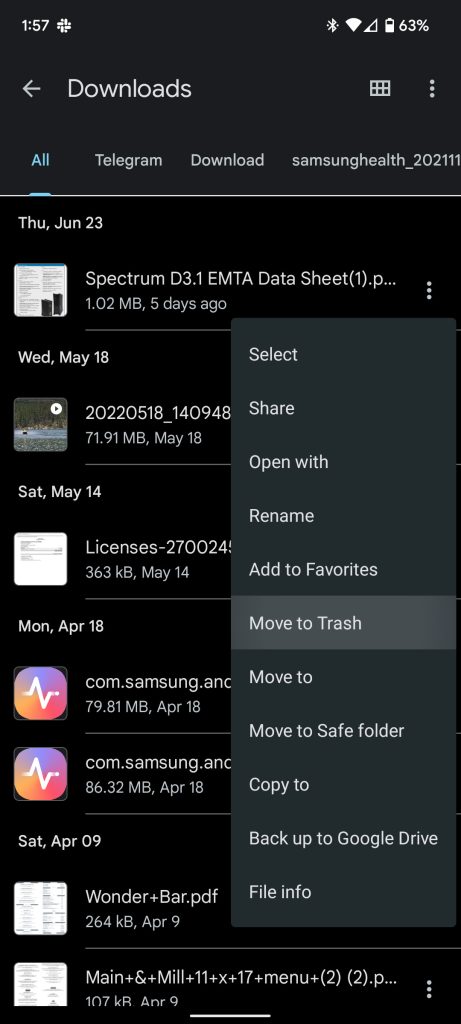
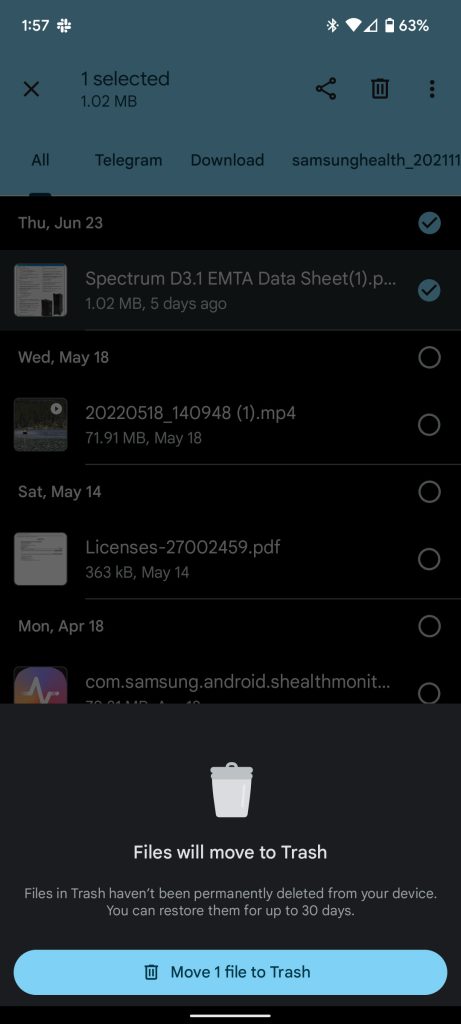
- From there you can find the download you want to delete and then tap the three-dot menu on the right-hand side. After that, tap Move to trash.
- Note: You can select multiple files by long-tapping any file and then tapping others you want to choose.
- Tap the back button and then the Menu button.
- Find Trash and tap it.
- Choose the files you want to permanently delete or tap All items to select every single one of them.
- You can choose to delete these files by tapping Delete at the bottom.
- Note: Once you hit Delete, you can not recover these files. This would be the page where you would recover them by hitting Recover if you accidentally deleted something. Once you delete from this page you can not undo that action.
Deleting files using the Clean tab
Another scenario where our phones get clogged up is when we accidentally download files or we download multiples of the same one; it can happen quite a bit and unfortunately, it goes under the radar. This means that you’ll often never know what’s clogging up your Pixel. Because of this, the Files app has a neat tab that shows you recommendations for files you may want to delete. Here’s how to empty your trash files on Android with the Pixel:
- On your device, find and open the Files app.
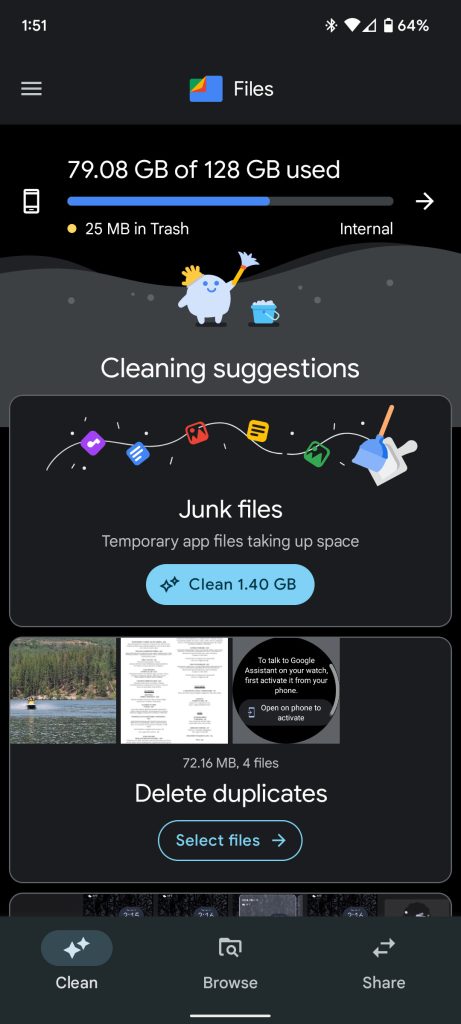
- Tap Clean at the bottom left.
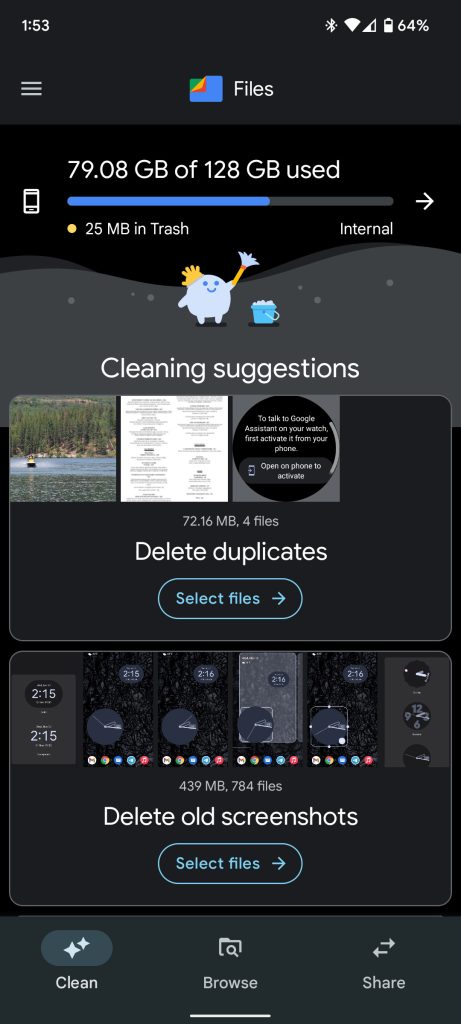
- Choose what you want the Files app to delete. You can choose between temporary junk files and other suggestions such as duplicates or old screenshots.
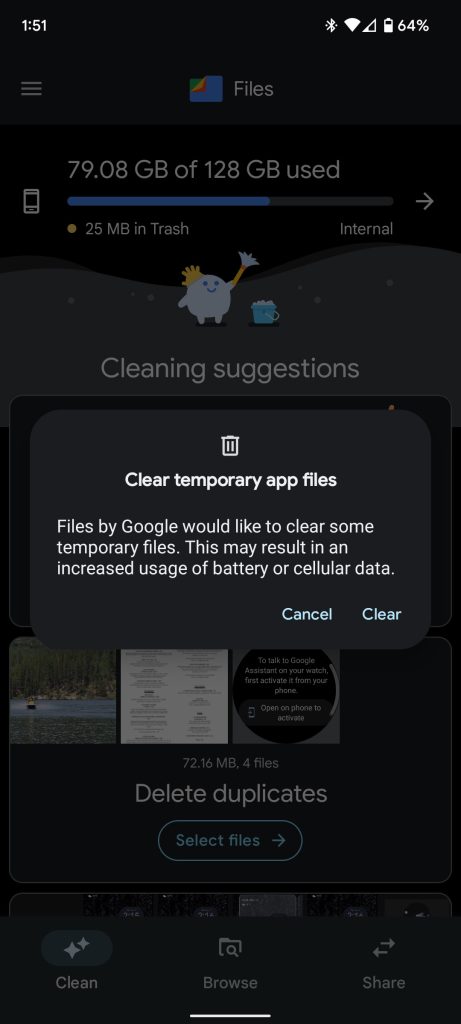
- To clean up your junk files, tap Clean [amount] GB in the first section. Confirm by tapping Clear on the next window.
- To delete files in the suggestion boxes, choose one and tap Select files.
- Tap the files you want to delete. Hit Move [amount] files to Trash.

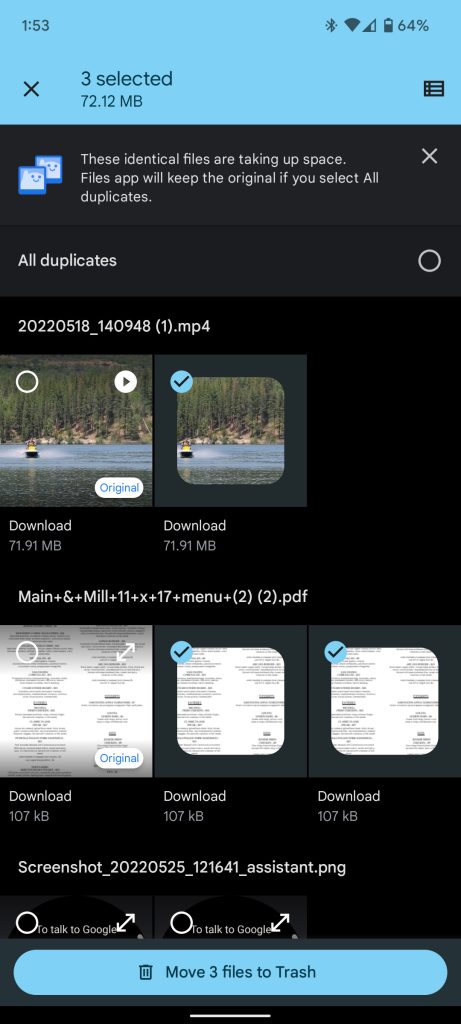
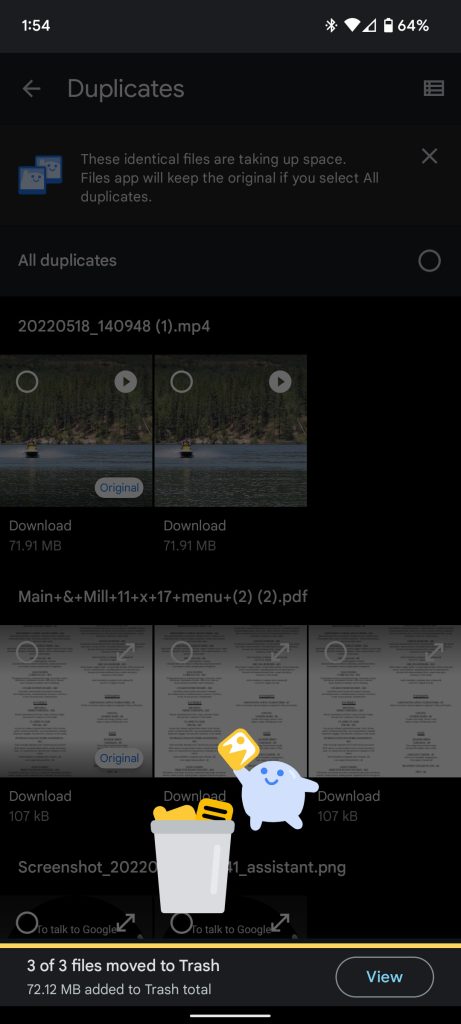
Once you do that, those files will go to the trash, where you can permanently delete them if you want. After 30 days in the Trash, files will be permanently deleted automatically, and you won’t be able to restore them.
In all, being able to delete files manually and being able to run through the Files app cleaning suggestions is good practice for keeping your Android device’s trash empty.
More on Android:
- How to use ‘Google Tasks’ to create to-dos and get stuff done
- How to block a number on your Android device
- How to clear an app’s cache on Android and why you might need to
FTC: We use income earning auto affiliate links. More.


Comments