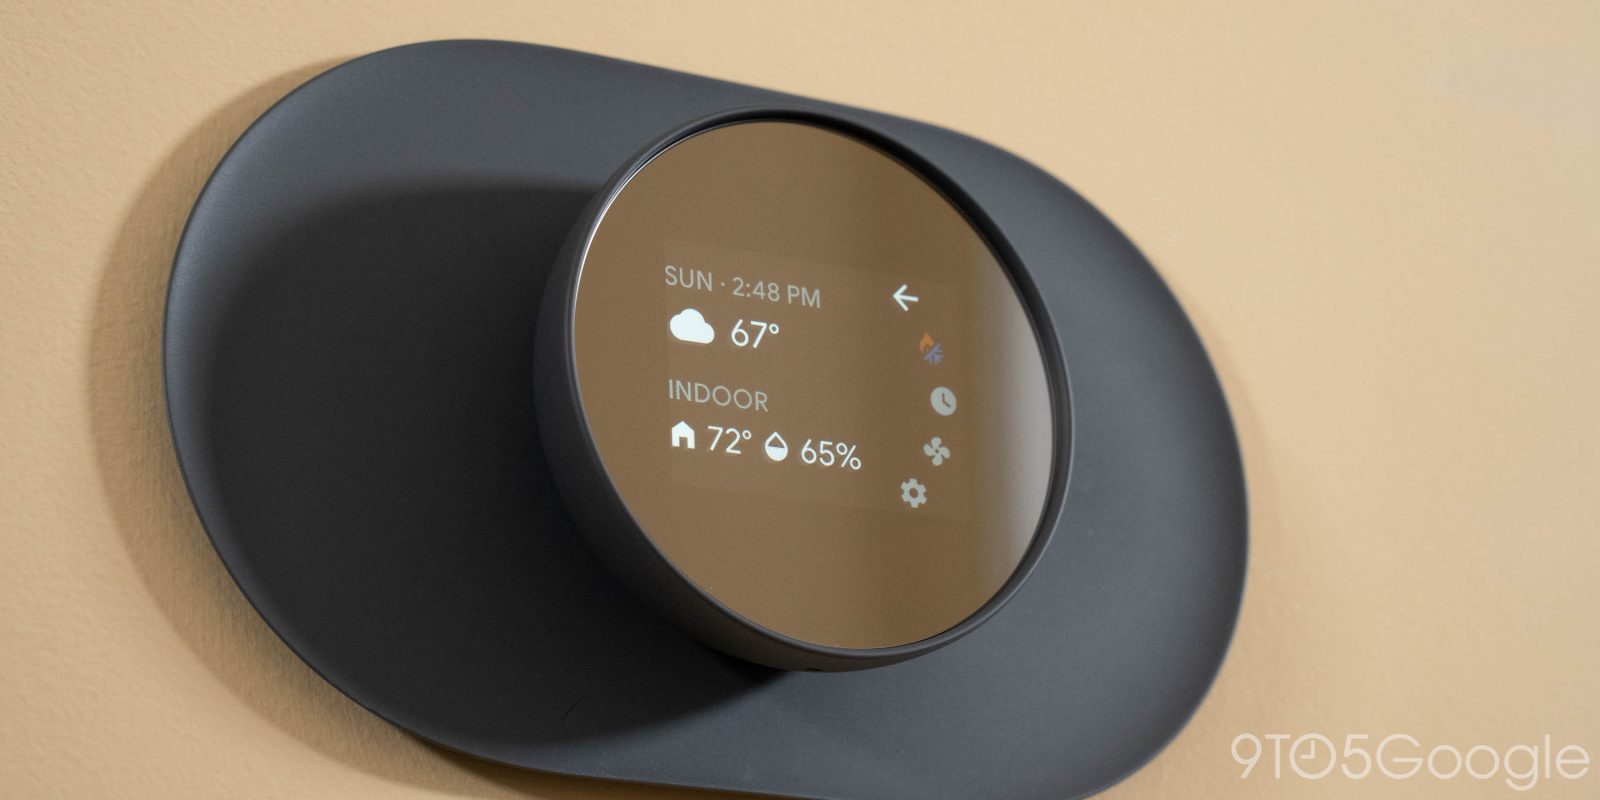
Smart home devices that tie into heavier equipment like HVAC systems can relay serious problems when broken down. This guide will take you through some tips to fix your Nest Thermostat if it shows you certain error codes.
There are countless reasons why your Nest Thermostat could be displaying an error code. One of those reasons may be that the weather is so cold outside your HVAC system is shutting down out of precaution. Another reason could be that the system is experiencing mechanical issues.
The Nest Thermostat is able to relay that information because it’s connected to the Y1 wire rather than a generic power tie-in. With that Y1 wire, your Nest Thermostat has a direct line to your HVAC system and can display error codes when the whole system is experiencing problems.
The below methods – provided by Google – for trying to troubleshoot your Nest Thermostat are all things you can do at home with less-than-professional experience to get things started again. After doing so, you should contact professional help to reconnect the proper wires according to what your HVAC system calls for. Here are the codes you might come across:
- E10
- E30
- E66
- E80
- E160
- E116
- E196
- E296
- M13
- N254
- N262
Restarting your Nest Thermostat and HVAC system
If you’re seeing E10, E30, E66, E80, E116, E160, E196, and M13 codes thrown from the Nest Thermostat, you can try restarting both the thermostat and HVAC system. Doing so has the chance of getting the system running again so you can stay warm.
This process involves heading to your home’s breaker box and powering off multiple rooms, as well as disconnecting and reconnecting your Nest Thermostat and wires involved. If you feel uncomfortable doing so, contact professional help first. Otherwise, Google has made it pretty easy to get a quick fix applied prior to having your system fully repaired.
- Turn off the power to your HVAC system at the main breaker or fuse box in your home.
- Note: If you can, always test to make sure the power is off using the proper tools.
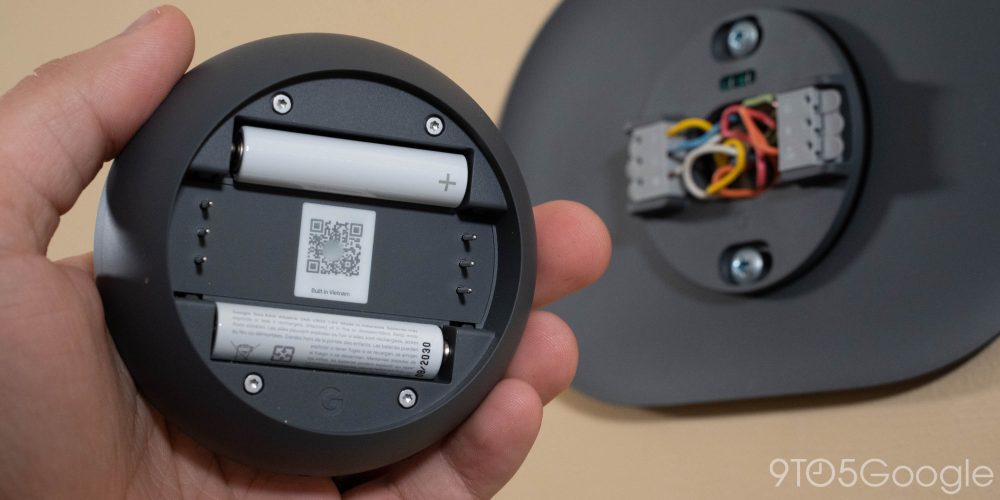
- Grab the ring of your Nest Thermostat and pull it off of the base gently.
- Note the orientation and type of wires connected to your thermostat. Take a photo if you can.
- Remove any Y wires. That includes Y, Y1, or Y2 wires. If you have both Rc and Rh wires, remove the Rc wire as well.
- Wrap the disconnected wires with electrical tape to prevent the possibility of a fire.
- Push those wrapped wires back into the base, out of the way of the thermostat.
- Reattach the display and listen for a click.
- Turn the power back on at the breaker.
After returning power to your HVAC unit and Nest Thermostat, you’ll need to watch out for a couple of things.
If the thermostat turns on without displaying a code, you should be able to turn on the heat again and return airflow to the home. However, if your thermostat doesn’t turn on, you’ll need to replace the batteries or charge it, depending on if it has a USB port or slot for AAA batteries. One important thing to note is that A/C does not work without the Y1 wire connecting. This is where calling a professional is important after performing this emergency process.

Google recommends connecting a common wire with the Y1 wire to prevent this from happening in the future.
E296 and N262 error codes
If you see an E296 or N262 code, Google recommends replacing the batteries or connecting a common wire, as mentioned above. These error codes are not as vital as the ones in the above section, though they still prevent you from using the thermostat as intended.
After going through the process listed, please ensure that you’re getting a professional to take a look after you’ve applied the listed quick fix unless you have the experience necessary. The idea of this quick fix is to get your system running in a sort of emergency mode until it can be fully repaired or a least brought back up to the required state. All of the above instructions were taken from Google’s official support section.
FTC: We use income earning auto affiliate links. More.


Comments