In the age of smartphones, screenshots have become an essential way to quickly share, as they allow others to see exactly what you’re seeing. That said, the way to take screenshots on your Chromebook or Chrome OS tablet isn’t exactly obvious, so here’s a quick how-to.
Over the years, Chrome OS devices have taken on many different shapes and sizes, with Chromebooks, Chrome OS tablets (sometimes awkwardly called “Chromblets”), and desktop machines like Chromeboxes and Chromebases. Because of this great variety, Google has had to develop many ways for Chrome OS devices to take screenshots.
Additionally, Chrome OS has three different types of screenshots that it can take. The most basic kind is a full display screenshot that simply captures everything on your Chromebook’s screen — or screens — and saves it.
If you’re looking for something more precise, though, there are two other handy kinds of screenshots available. Single-window screenshots allow you to click on a window and capture only its contents, ignoring everything else on screen. Meanwhile, region screenshots allow you to click and drag to select exactly what you want to capture.
How to take a screenshot on a Chrome OS tablet
The easiest and most obvious way to take a screenshot is found on Chrome OS tablets. Just like most Android phones, you can press the Power and Volume Down buttons at the same time to take a screenshot while a device is in tablet mode.
This method captures a full display screenshot, with devices in tablet mode being currently unable to take more region or single-window screenshots — at least not without a stylus.
How to take a screenshot with your Chromebook’s keyboard
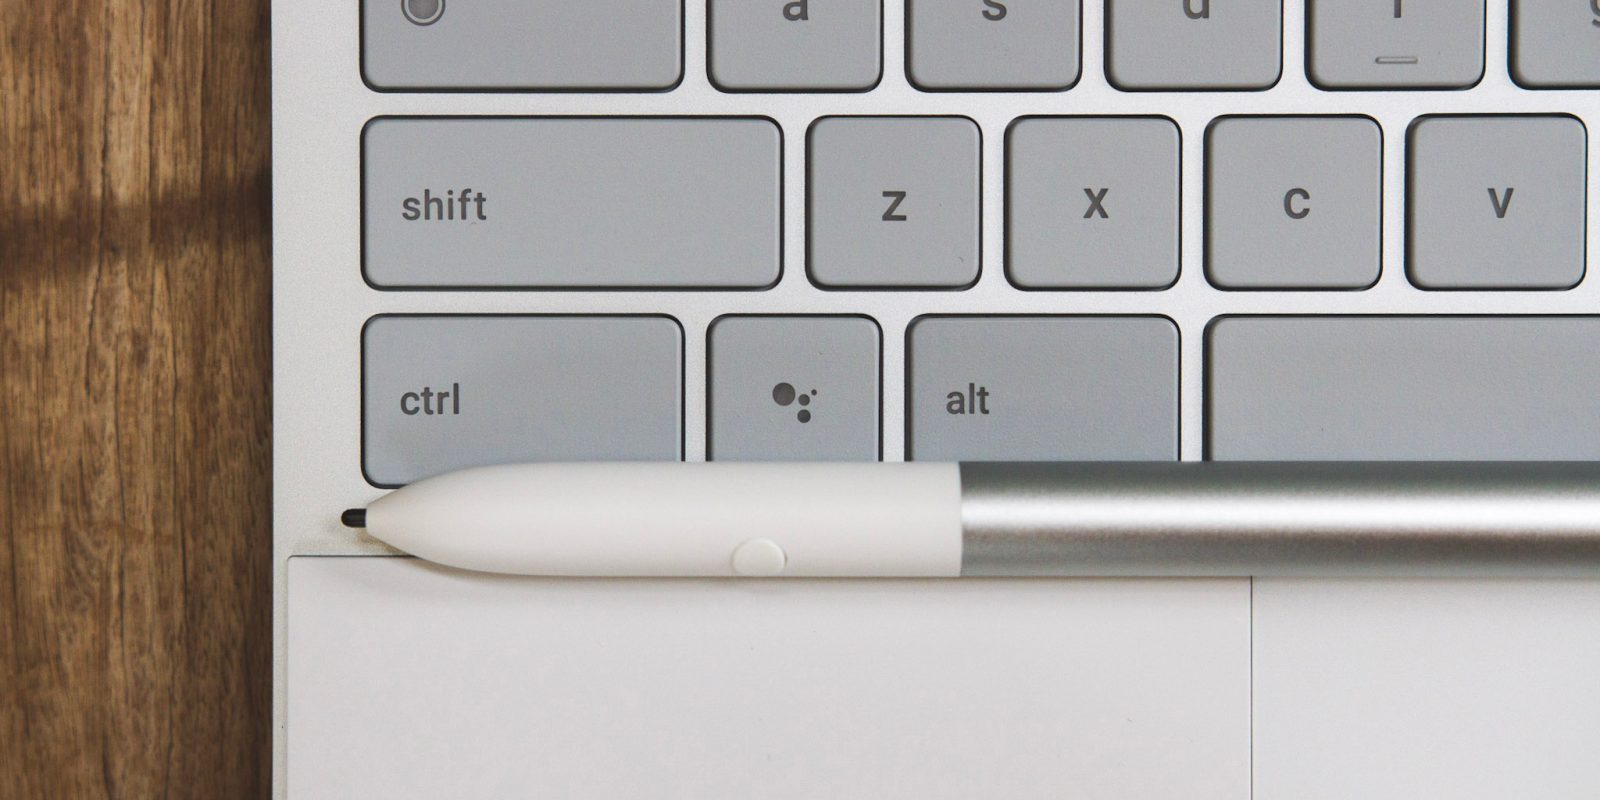
The standard way of taking a screenshot on a Chromebook involves a special key called “Overview” which looks like ☐||. Normally this key is used to show you all of your currently open windows, but by holding other keys like Ctrl, Shift, and Alt, we change the Overview ☐|| key into something of a screenshot key.

For all three styles of screenshot — full display, region, and single window — you’ll need to hold the Ctrl key. Also holding Shift or Alt changes to take a region or single-window screenshot, respectively.
- Ctrl + ☐|| — Takes a full display screenshot
- Ctrl + Shift + ☐|| — Takes a region screenshot
- Ctrl + Alt + ☐|| — Takes a single-window screenshot
How to take a screenshot on a Chromebook with a stylus
Some Chromebooks, such as the Pixelbook, Pixel Slate, and Lenovo IdeaPad Duet, have a touchscreen that can be used with a stylus. On these Chromebooks, Chrome OS will display a button with a pen icon in the bottom left of the screen, next to the clock.

Inside this stylus menu, you’ll find two helpful options for taking a screenshot. To take a full display screenshot, tap “Capture Screen.” Or if you only need part of the screen, tap “Capture region,” then tap-and-drag your stylus over the screen to select the area for which you want to take a screenshot.
How to take a screenshot on Chrome OS with a Windows keyboard
While the market for Chrome OS accessories has steadily been increasing, most external keyboards are designed with Windows in mind and will still work fairly well on Chrome OS. There’s actually two different ways to take screenshots on your Chromebook while using a Windows keyboard, though one is a bit less reliable than the other.
The first, more unreliable method is based on the fact that, by default, Chrome OS treats a Windows keyboard’s F1 through F12 keys like your Chromebook keyboard’s top row of keys. What makes this unreliable is the fact the Overview ☐|| key is not in the same place on every Chromebook, meaning you would need to press a different F key on the Windows keyboard.
For example, on my personal Lenovo Yoga Chromebook C630, the Overview ☐|| key is at the F5 position (counting rightward from the Esc key), while the Pixelbook and Pixel Slate have Overview ☐|| in the F4 position. Aside from that, the F5 (or F4) key works exactly like Overview ☐|| does on the Chromebook keyboard.
- Ctrl + F5 — Takes a full display screenshot
- Ctrl + Shift + F5 — Takes a region screenshot
- Ctrl + Alt + F5 — Takes a single-window screenshot
Thankfully, rather than needing to memorize which is the correct F row key to press, Chrome OS offers yet another way to take screenshots on your Chromebook or tablet with a Windows keyboard. Just like on Windows, you can capture a screenshot by pressing the “Print Screen” key (sometimes abbreviated to something like “Prt Srcn”).
However, the Print Screen key, for whatever reason, does not work the same way as Chrome OS’s Overview ☐|| key shortcuts. Instead, Shift now handles the role of taking a region screenshot and there isn’t a shortcut for taking a single-window screenshot.
- Print Screen — Takes a full display screenshot
- Shift + Print Screen — Takes a region screenshot
Where are Chromebook screenshots saved?
Once you’ve captured a screenshot, a new notification will appear in the bottom-right corner of the screen letting you know that it’s been saved. This notification also offers for you to open your screenshot in Google Keep Notes to draw on top of, copy the screenshot to your clipboard, or show you where the screenshot is saved.

By default, though, Chrome OS screenshots are saved into the Downloads folder, which you can access using the Files app.
More on Chrome OS:
- Best Chromebooks you can buy today
- Android’s AirDrop, Nearby Sharing, shows signs of debuting on Windows, Mac, and Chrome OS
- Windows apps are coming to Chrome OS courtesy of Google partnership w/ Parallels
FTC: We use income earning auto affiliate links. More.


Comments