After a brief beta period, Google’s big-screen focused Android 12L update has arrived, and you can install it first on Pixel smartphones. Here’s how.
What Pixel devices are eligible for Android 12L?
Google supports its Pixel smartphones for about 3 years after their release, with the exception of the Pixel 6 series which sees security updates for an additional 2 years after that. The list of Pixel devices that support Android 12L follows:
- Pixel 3a/XL
- Pixel 4/XL
- Pixel 4a
- Pixel 4a 5G
- Pixel 5
- Pixel 5a
- Pixel 6
- Pixel 6 Pro
Notably, Google isn’t offering Android 12L for the Pixel 6 or Pixel 6 Pro immediately. On launch day, the company said these builds are delayed, but we’re not sure exactly how long it will be until they arrive. Check back for more soon.
Update 3/22: Roughly three weeks after the builds launched for other Pixel phones, Google has finally released Android 12L to Pixel 6 and Pixel 6 Pro. The update comes with the March Feature Drop, various bug fixes, and support for C-Band 5G on Verizon Wireless as well.
How to install Android 12L on your Pixel
The easiest way to get Android 12L on your Pixel is, obviously, to just download the over-the-air update. This process is usually delayed by a couple of hours, but in recent years it has started working in as soon as a few minutes after Google’s announcement.
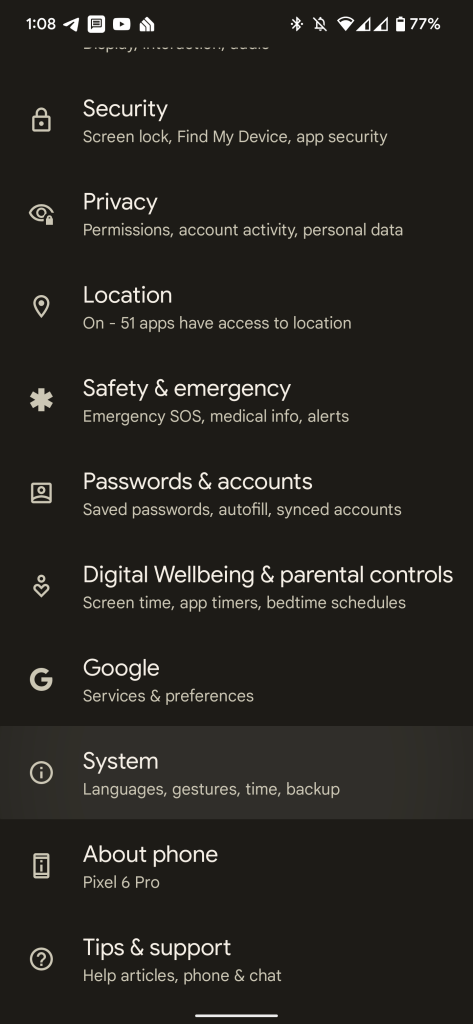
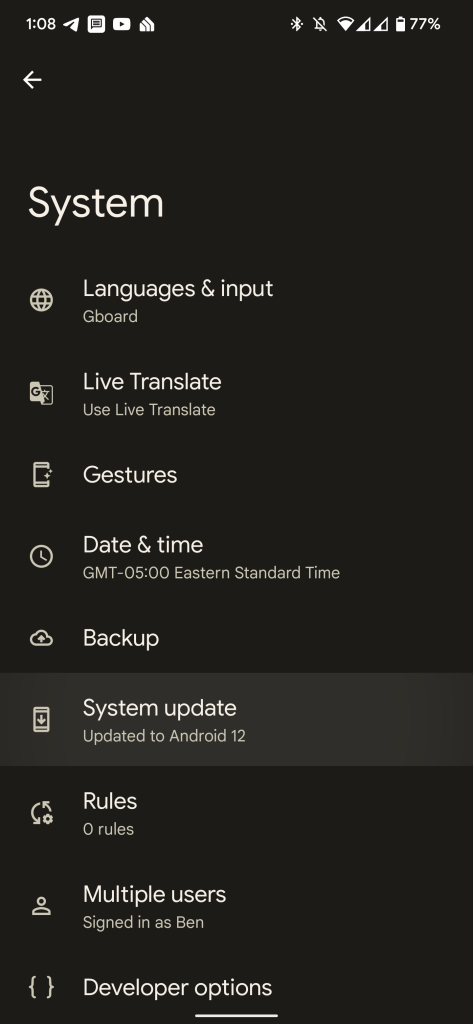
To get the update to download on your device, head to Settings > System > System Update. One quick press of the “check for update” button should pull the update down.
If you were already enrolled in the Android 12L Beta on a Pixel smartphone, you might notice it taking just a little bit longer for the update to arrive. That’s perfectly fine, and the OTA should be heading out to those users soon.

If you’re feeling impatient though…
How to sideload Android 12L
- Download the OTA file
- Boot into Recovery mode
- Navigate to ADB sideload
- Connect the handset to a computer with ADB tools installed
- Enter the sideload command
- Reboot your phone
1. Download the OTA file
To get started, you’ll first need to download the beta OTA file from Google’s Full OTA Image hosting site. That site contains OTA downloads for sideloading different updates, including Android 12L, on every Pixel and Nexus device, so you’ll need to scroll down to ensure you are downloading the file that associates with your device. Downloads are available here.
Note: This process won’t wipe your device, but it’s good practice to backup any irreplaceable data in case something goes wrong.
2. Boot into Recovery mode
Next, you’ll boot your Pixel into Recovery mode. To do this, fully power down your handset. Then, hold down on the Power button and the Volume down button at the exact same time until you get to the Bootloader page. You will know you’re in the right place when you see an Android figure lying down on the screen.
Using your volume buttons, scroll down to Recovery mode. Select this by clicking the power button. Alternatively, if you’re already connected to a computer with ADB, you can use the reboot recovery command.
Now you should see a smaller Android lying down with an exclamation mark over it. From here, press the Power button and the Volume up button for about a second to fully enter Recovery mode. Releasing the Volume up button will send you into Recovery.
3. Navigate to ADB sideload
Using the volume buttons, scroll down to Apply update from ADB and select it with the power button. This will launch a mostly blank screen with text near the bottom directing you on how to sideload an OTA, such as this one for the Android 12L.
4. Connect the handset to a computer with ADB tools installed
This step is important as it’s the only way to transfer the downloaded OTA file to your handset. You’ll need to have ADB and Fastboot tools in a handy place. You can download ADB tools from the Android Developers website. The Universal ADB Drivers from ClockWorkMod also make the process much easier if you are on a Windows machine versus the drivers already on your machine.
To verify your connection is working, open Command Prompt (Windows) within that folder and type adb devices. Your phone may ask for permission at that point and you should click the option to remember that computer as well. If things are working properly, adb devices will show your device as connected. You cannot sideload on two devices at once using this method.
5. Enter the sideload command
As long as everything is in place, you can now sideload the OTA file. On Windows, ensure your Command Prompt is directed to the ADB tools folder and type in adb sideload. If you’re on macOS or Linux, do the same thing in Terminal (use “cd” and “ls” commands to make sure your Terminal is pointed at the right folder, Google it if you need help) but type in ./adb sideload. You’ll then need to insert the file name of the .zip folder you downloaded from Google and hit enter to start the process.
If everything is working properly, you should see some dialog on your computer and handset that shows the process of the sideload and installation process.
6. Reboot your phone
Once the OTA is done installing, you will be taken back to Recovery Mode. The last step to jump into the new update is to select the Reboot now option with your power button.
FTC: We use income earning auto affiliate links. More.

Comments