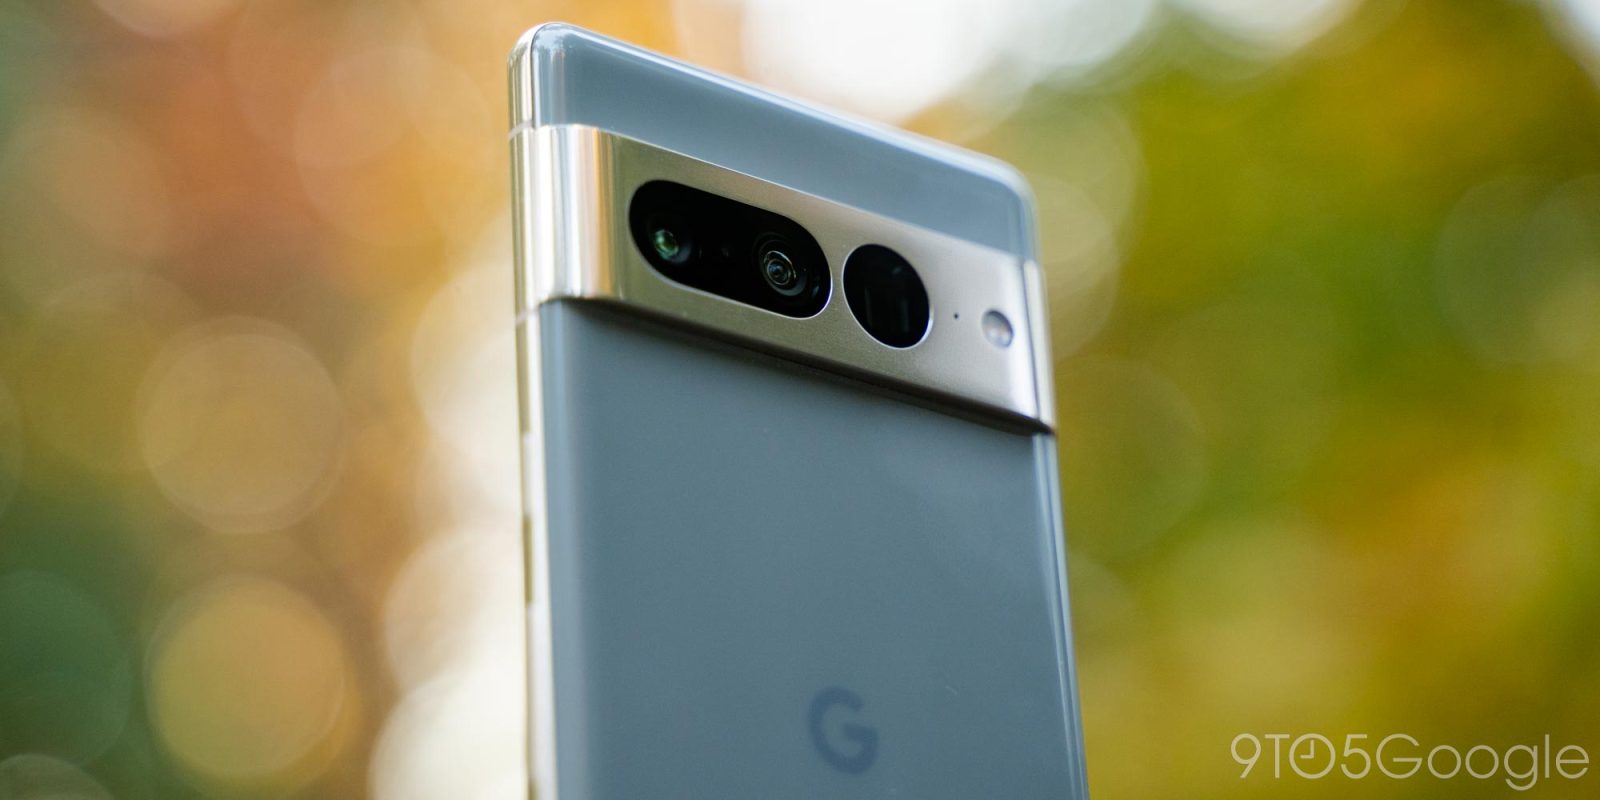
It’s no secret that Pixel phones – especially the Pixel 7 and 7 Pro – take downright fantastic photos. Of course, it’s always nice to have RAW images so you have a little more freedom in your editing process. This guide will take you through enabling RAW file picture capture on your Google Pixel.
No matter what device you shoot on, your final image will generally come out as one of two file formats – JPEG or RAW. Of course, we’re all familiar with JPEG files, which produce a perfectly fine photo. The caveat is that they’re lossy and stripped of all the surrounding detail and data that would make editing easier. With that, though, they’re incredibly easy to store and share without sacrificing much storage space.
On the other hand, a RAW photo is lossless and keeps a lot of that captured data available, making editing much easier. A RAW file on your Google Pixel – or anywhere for that matter – allows you to make greater adjustments without sacrificing overall detail. With that, a RAW file is much larger, and having many stored on your device can definitely bog it down and soak up space. On top of that, it isn’t widely supported as a readable file format without first being converted.
Related: Here’s what every camera on the Pixel 7 Pro does
Of course, if you don’t plan on doing heavy editing with your Pixel’s photos, there wouldn’t be a need to also capture RAW images. For those that do plan to, the Pixel 7 and 7 Pro are newly supported devices in Adobe’s RAW catalog, which means color profiles are supported from those devices. The Pixel 6 and 6 Pro are supported as well.
How to take RAW images on your Pixel
The Pixel’s stock camera app allows you to operate in a mode called RAW + JPEG, which will take both JPEG and RAW pictures on your Google Pixel. This option will inevitably take up much more space on your device, though if you plan on exporting the RAW images, this shouldn’t be an issue.
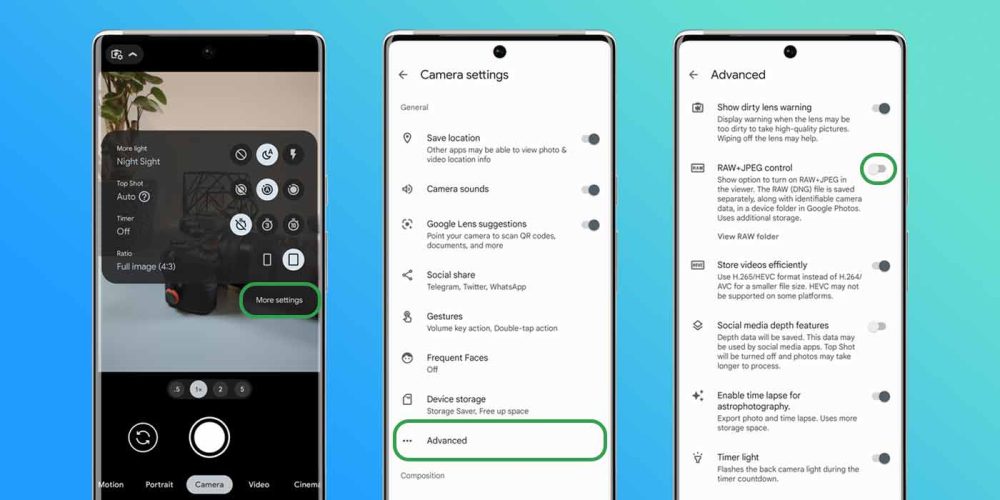
Enabling the feature is pretty easy and takes a quick setup. After that, you can toggle the RAW + JPEG option on and off.
- On your Pixel, open the camera.
- If you haven’t changed the default method, you can double-tap your power button.
- Tap the camera settings drop-down button at the top.
- Hit More settings.
- Tap Advanced.
- Toggle on RAW + JPEG control.

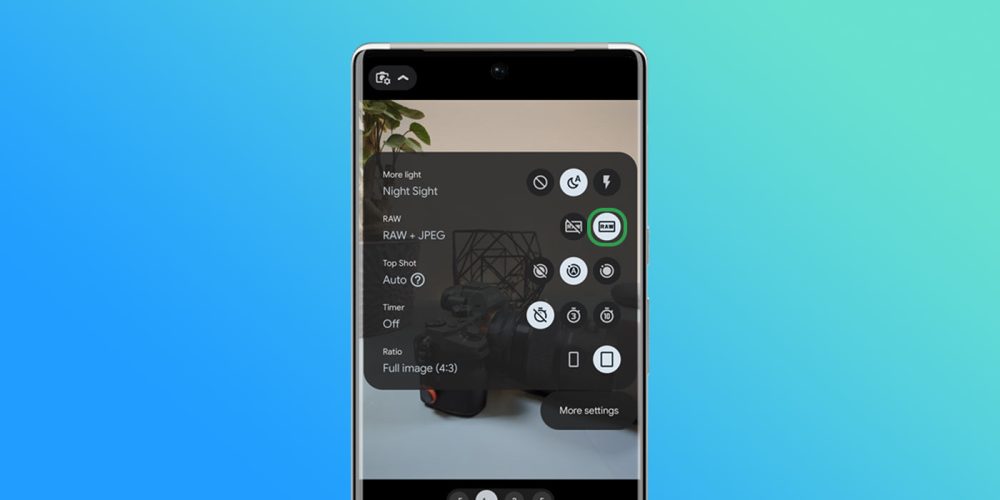
Now, when you open the camera settings drop-down menu, you can tap RAW to get both RAW and JPEG images.

Taking RAW pictures on your Pixel with this option enabled will result in an additional folder appearing in your Google Photos library called “Raw.” That folder is where you can find all of your RAW images to export or edit.
Tip: Don’t set the “Raw” folder to automatically back up to the cloud. This will eat your storage up like there’s no tomorrow.
How to export RAW images
If you plan on editing your RAW pictures elsewhere such as Adobe Lightroom, you’ll want to export your images. There are several ways you can do this without losing any image quality. Our suggestion would be to upload them to Google Drive to maintain quality and download them to the device you’re editing with.
If you plan on editing from your Pixel, you don’t have to export. Simply select images in your editing app from the Raw folder in your library and you’ll be able to tune them how you like.
- Open Google Photos.
- Tap Library.
- Select the “Raw” folder.
- Open an image or select multiple and hit Share.
As mentioned, you can use Google Drive to upload your images if you wish. Doing it that way will keep your files at full size until you download them and edit them down.
Overall, the RAW image feature on Google’s Pixel lineup comes in handy. With newly supported RAW files from the Google Pixel 7 and 7 Pro in Adobe’s suite, it’s a little easier to edit those fantastic Pixel images.
More on Pixel:
- First Pixel 7 update rolling out with three fixes for display and system
- Pixel 7 Pro review: Google is finally figuring out flagship phones
- Pixel 6 Pro vs. Pixel 7 Pro: Is the upgrade worth it to fix issues? [Video]
FTC: We use income earning auto affiliate links. More.


Comments