
Rather than pushing traditional passwords for account security, Google has been spearheading a new method that utilizes passkey. Passkeys are meant to be much more secure than conventional methods. So how do you set them up? This guide will help you create Google passkeys for compatible devices and manage existing ones.
What are Passkeys?
Differentiating passkey from conventional passwords can be a little confusing. As the technology progressed over the last year or so, it remained shrouded in a little bit of mystery. We, as users, didn’t really know what they would look like once they reach the public.
Now, we know that passkeys are just an extension of your device’s ability to utilize biometric logins instead of numerical passwords. For example, when logging into your Google Account, you can use a fingerprint reading or face unlock, if your phone is capable.
According to Google, creating passkeys means your account is more phishing-resistant and more secure than with a string of numbers, letters, and symbols. The user-facing upside is that you’ll never need to remember a login so long as passkeys are enabled. The only exception is if you choose to use a PIN or pattern rather than a fingerprint or face unlock.
Set up a Passkey for your device
For a majority of users, Google has opted to automatically create passkeys for some mobile devices with a Google account tied to them. Whichever method you use to sign into your device will be the method used for your Google Account.
Though some devices may be setup already, you can go and in see which devices have a passkey enabled. If you don’t see one for a device you want to enable it for, you can do so as long as it’s compatible. Here are the requirements:
- Laptop or desktop that runs at least Windows 10, macOS Ventura, or ChromeOS 109.
- Mobile device running at least Android 9 or iOS 16.
So long as the device meets these requirements, you’re good to create a Google Account passkey.
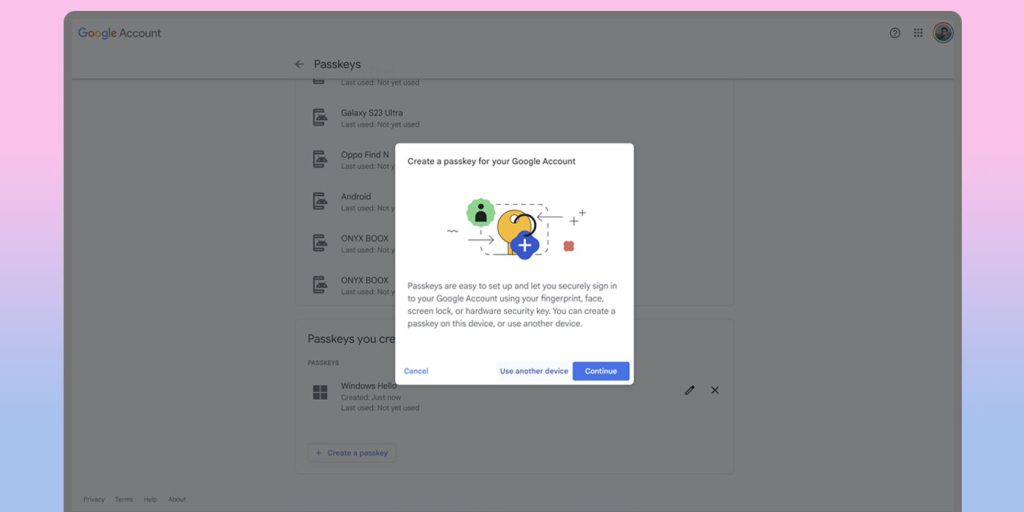
- Head to myaccount.google.com/signinoptions/passkeys.
- If the current device doesn’t use a passkey already, you’ll see Use passkey. Click or tap it.
- To set up a passkey for a different device, scroll to the bottom and hit Create a passkey.
- Note: It looks like this option is currently locked to Windows or macOS, with the option not showing up on mobile.
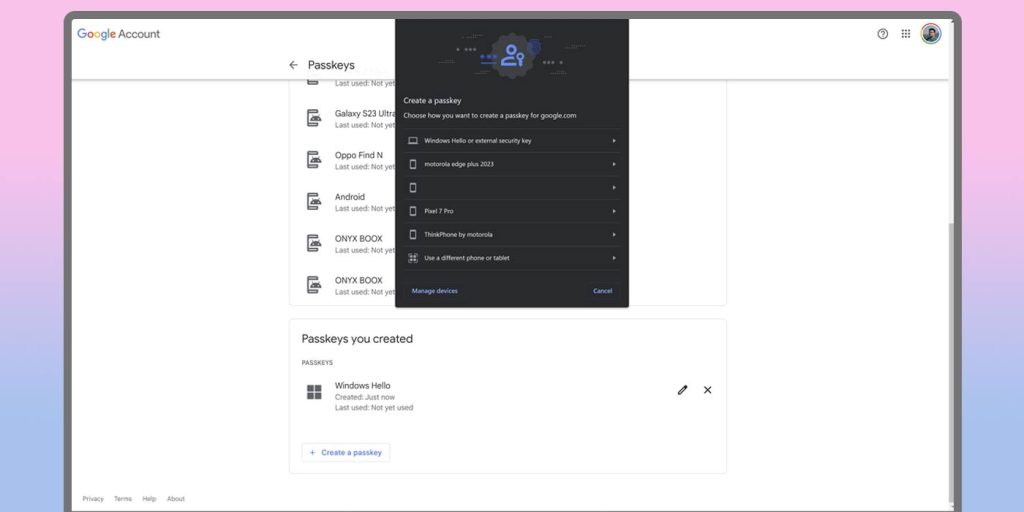
- Hit Use another device.
- Choose the device and follow the steps to verify it.

On a PC with a capable webcam or fingerprint reader, you might need to verify your Google Account on a separate device before you’re allowed to register that computer. It’s an extra step, though easy.
If you’re looking to retract access from any of your listed devices, you can always hit manage devices and sign out remotely. This will keep your account secured if you don’t necessarily need that device to have continued access.
Once you’re finished, you should be able to log in to your Google Account with a created passkey rather than your standard password. As Google continues to expand this feature and other companies follow, using passkeys will likely become the norm across most apps.
FTC: We use income earning auto affiliate links. More.


Comments