Every month, Google releases a new Android security patch, resolving any and all security issues that have been uncovered in Android and their own Pixel phones. These updates — sometimes called an “OTA” as they’re supposed to arrive “over the air” — typically arrive on your phone automatically over time, but you can also manually install or “sideload” the update which has now become easier than ever, thanks to the Google Pixel Repair Tool.
Things you’ll need
We’re not sure how long the Pixel Repair Tool has been around, possibly having been used internally by customer support and/or phone carrier employees. Just like the Android Flash Tool, the Pixel Repair Tool uses a technology called “WebUSB” to connect your phone directly to a web app.
Because of that, the only software you’ll need is a browser that supports WebUSB like Chrome, Opera, or the new Microsoft Edge. This means that even a Chromebook can now be used to install an update onto a Pixel phone without needing to bother with Linux apps or installing Android developer tools like ADB.
One frustrating issue for the time being is that the Pixel Repair Tool seems to be limited to the United States and a small handful of other countries. Supposedly, this will be fixed in the future, but for now, you may need to use a US-based VPN.
Beyond that, the requirements are fairly straightforward. You simply need a Pixel 3 or newer phone that’s been updated to Android 10, a USB-C cable to connect your phone to your computer or Chromebook, and a decent internet connection.
Also, if you’re on a Windows computer, you’ll need to make sure you’ve installed the necessary USB drivers for your phone.
While your phone will be plugged in for the majority of the time, for safety’s sake, be sure your Pixel does not have a low battery. Also on the subject of safety, it’s always good to make sure your phone’s data is backed up somewhere just in case anything goes horribly wrong, no matter how unlikely that may be.
How to install an Android OTA update w/ Pixel Repair Tool
- Choose your carrier
- Put your phone into Rescue Mode
- Connect your phone
- Confirm the update
- Install the update
- (Alternate) Exit Rescue Mode
1. Choose your carrier
Open up your browser — we’ll be using Google Chrome as the example — and head over to the Pixel Repair Tool’s landing page. From here, select the carrier that you purchased your Pixel phone from by clicking the “Select your carrier” button. This is important, as some carriers add their own unique changes in an update.
If you bought your phone unlocked, click “Select from additional carriers” then choose “Others” from the dropdown box.
2. Put your phone into Rescue Mode
Next, the Pixel Repair Tool will walk you through the steps of putting your phone into Rescue Mode, a special mode used primarily when installing an update or factory reseting.
To do this, turn off and unplug your phone, then simultaneously press and hold both the Power and Volume Down buttons until you see the Bootloader screen (about three seconds).
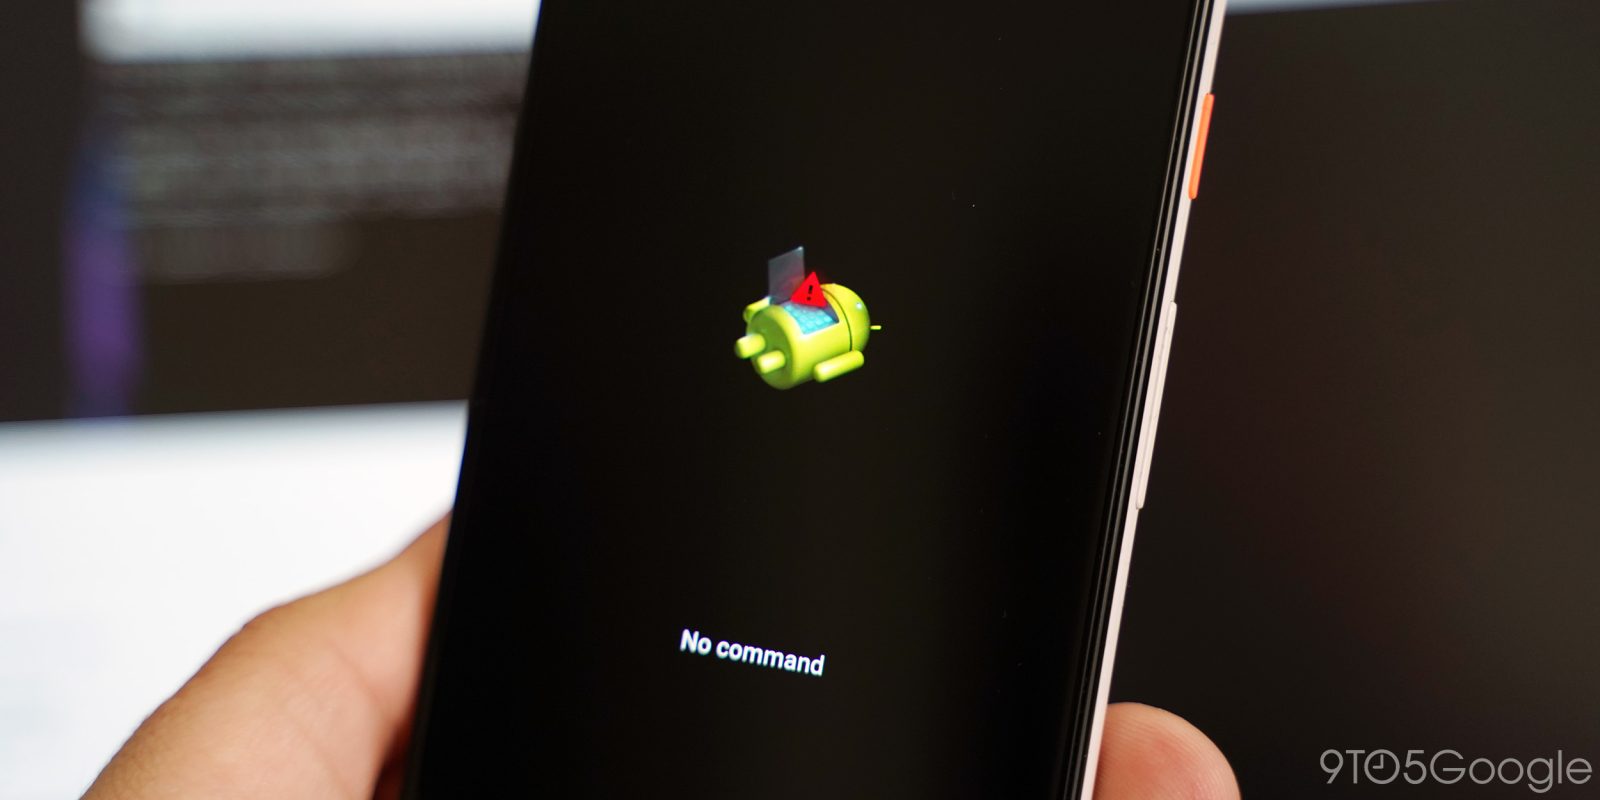
From this page, use the volume buttons to scroll through options until you see “Rescue mode,” then press the Power button. You’ll now see the Android mascot lying on his back with an exclamation point over it.
3. Connect your phone
Now you can connect your phone to your computer via USB, then click the “Connect phone” button on the Pixel Repair Tool. Chrome will pop a dialog onto the screen asking for your permission to give the website access to your phone via USB. Click your phone’s name, then “Connect” to grant your permission.
4. Select and confirm the update
With the information you’ve given about your carrier and other info from your phone, the Pixel Repair Tool then determines whether or not your Pixel is in need of an update.
If there’s an update ready, you’ll see “Update recommended” and a large button labeled “Update phone.” Clicking this button will offer you one more chance to confirm that you’re installing an update for the correct carrier. If everything looks the way it should, click “Confirm.”
However, if there’s no update available, the only option you’ll be offered is to factory reset your phone. Obviously, you do not want to do this, as it would simply erase all of the data from your phone. To get your phone back to normal, close the Pixel Repair Tool and skip over to step 6.
5. Install the update
Once everything is confirmed, the Pixel Repair Tool will handle the rest. At this point, I’d recommend walking away from your phone and computer for a few minutes, and perhaps grab a snack. Just be sure that your phone stays plugged in through the entire process.
When the update is done installing, your phone will restart automatically, and you’ll be on the newest update. To ensure the update has gone through successfully, you can go to the Settings app, tap About phone, then select Android version. The Android security patch level will show you which update you’re on.
6. (Alternate) Exit Rescue Mode
If there wasn’t an update available, you’ll need to take your phone out of Rescue Mode, and there’s two ways to do this. The simplest way to do this is to just wait. After some minutes of doing nothing, your Pixel will restart itself and go back to normal.
Or, if you’re in a bit more of a hurry, you can press and hold the Power button for about 10 seconds to restart the phone, but note that you’ll still be in Rescue Mode. Just press and hold the power button again for 10 seconds and your Pixel will reboot to its normal state.
FTC: We use income earning auto affiliate links. More.


Comments